Email Verification
Ensure your emails reach real inboxes by verifying email addresses before sending campaigns. MailGreet’s email verification helps you maintain a clean list, reduce bounce rates, and protect your sender reputation.Why Verify Emails?
Reduce Bounces
Invalid emails cause hard bounces, hurting your sender reputation
Save Credits
Don’t waste email sends on addresses that don’t exist
Improve Deliverability
Clean lists mean better inbox placement rates
Protect Reputation
Avoid spam traps and blacklists that damage your domain
When you add new subscribers through the platform, their emails are automatically verified at no extra cost. The verification feature is for validating external lists or individual addresses.
Verification Results Explained
After verification, each email receives a status:Single Email Verification
Quickly verify individual email addresses in real-time.1
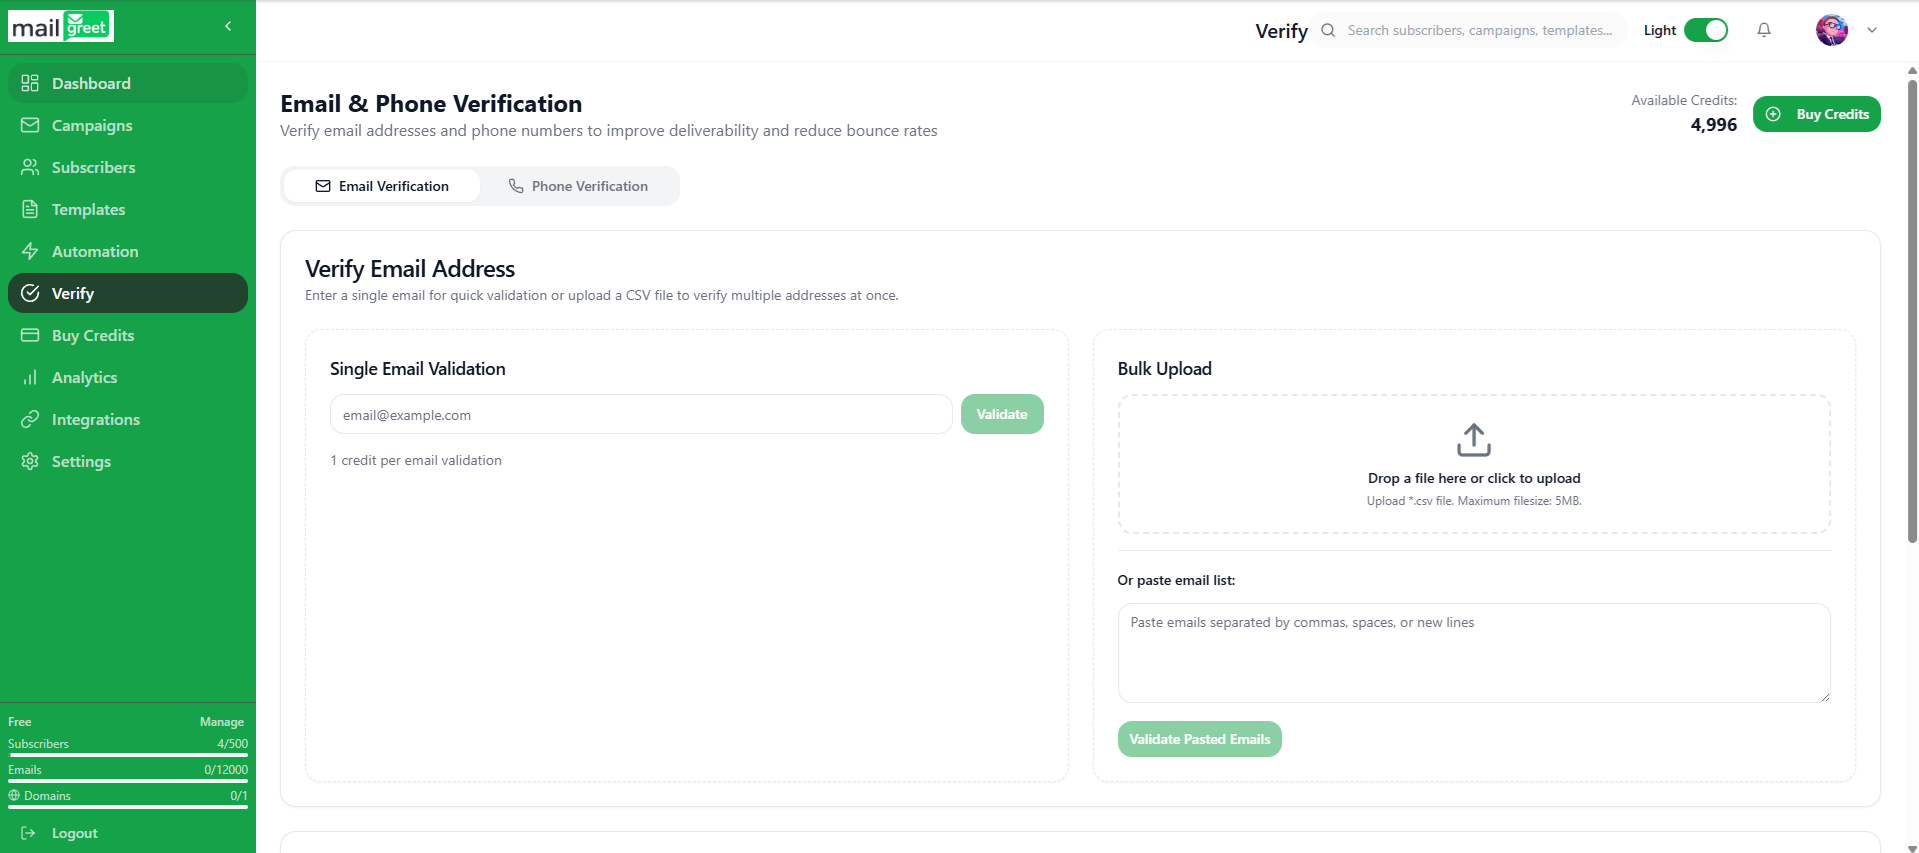
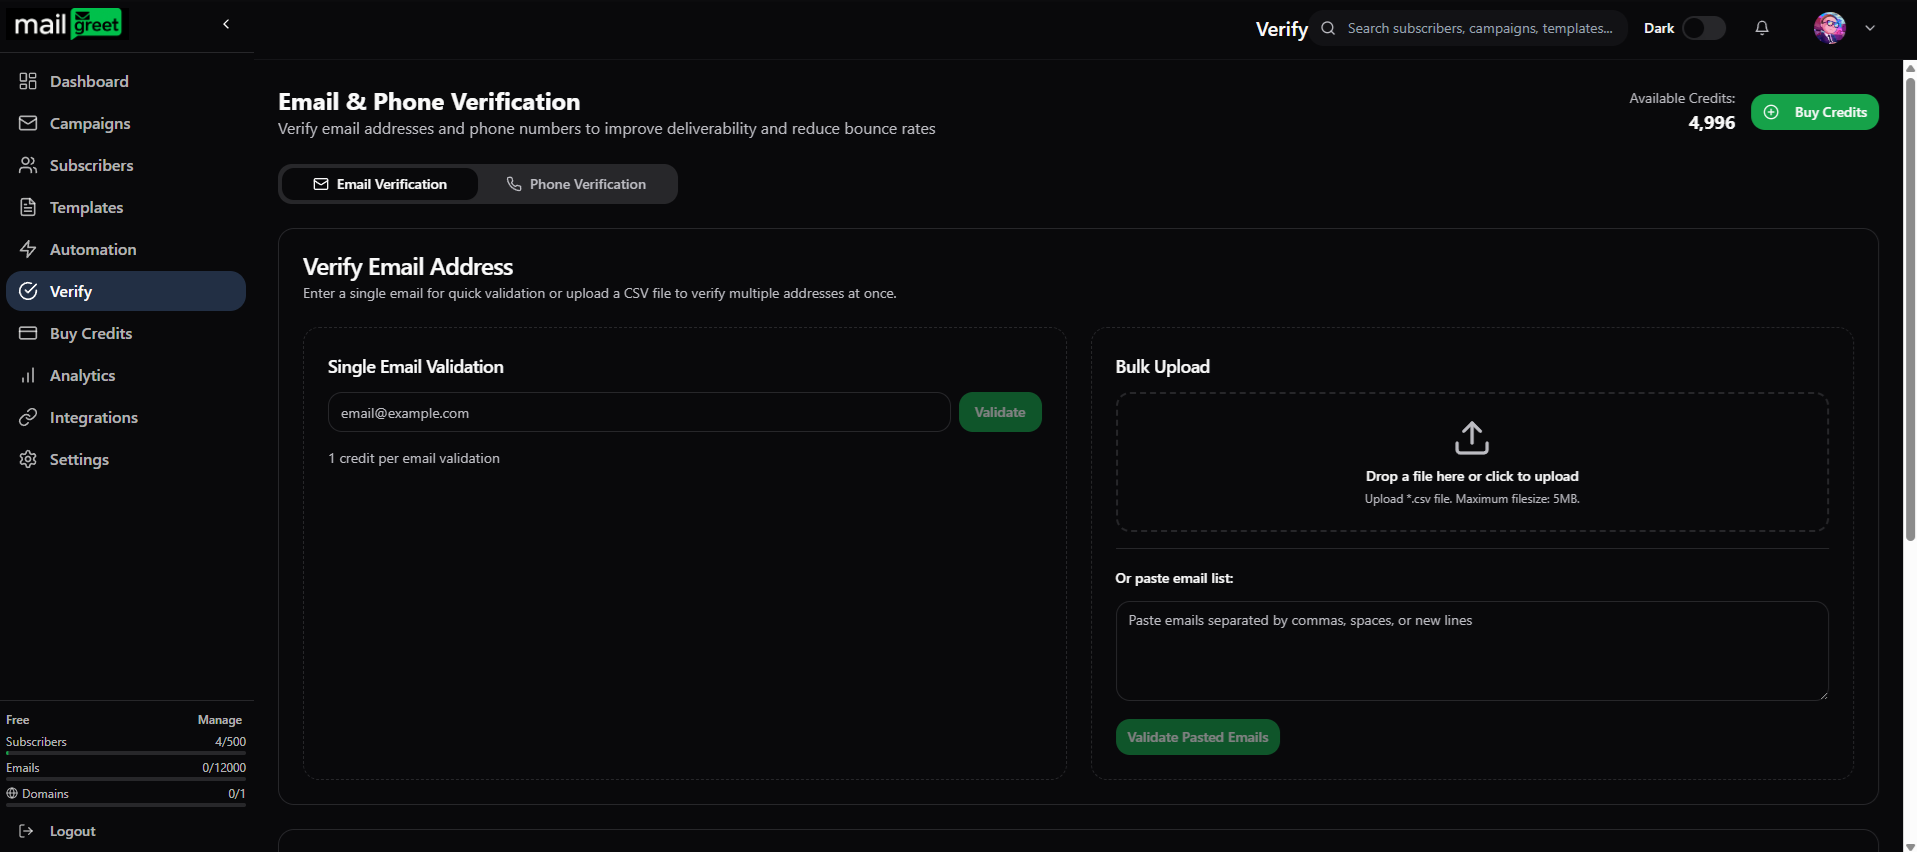
Navigate to Verify Page
2
Select Email Verification
Click on the Email Verification tab if not already selected
3
Enter Email Address
In the Single Email Validation section, type or paste the email address you want to verify
4
Click Validate
Press the Validate button to check the email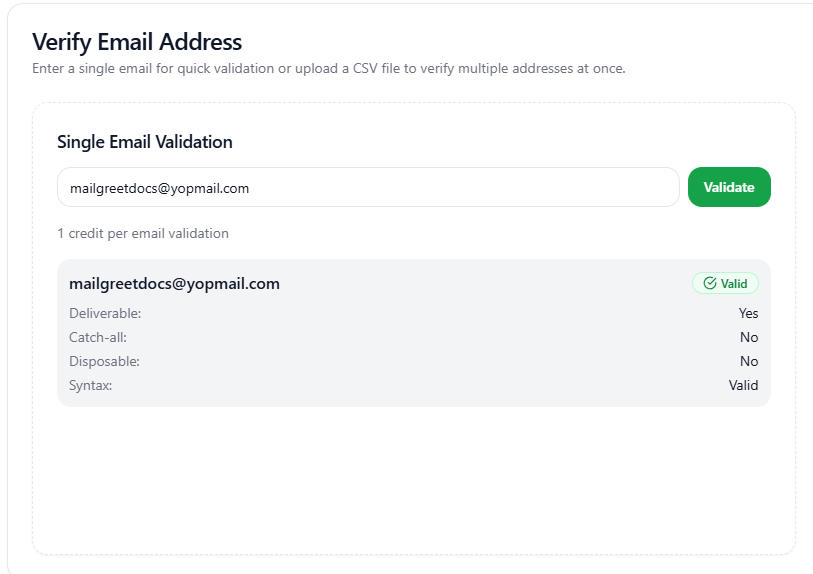
5
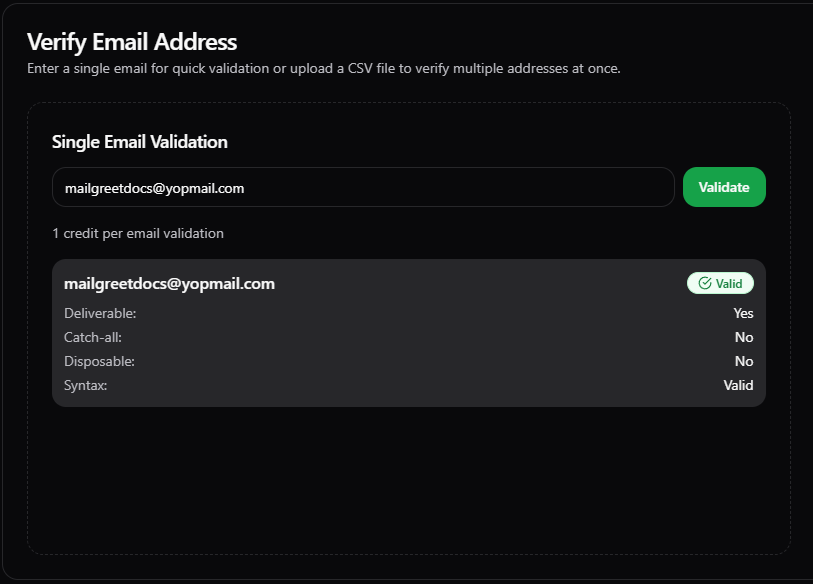
View Results
The validation result appears instantly below the input field, showing whether the email is valid, invalid, or catch-all
Credit Usage: Each single email verification uses 1 credit from your account balance.
Bulk Email Verification
Verify hundreds or thousands of emails at once using file upload or paste methods.Method 1: CSV File Upload
Upload a CSV or TXT file containing your email list for bulk verification.1
Go to Verify Page
Navigate to Verify and select the Email Verification tab
2
Upload Your File
In the Bulk Upload section, drag and drop your CSV/TXT file or click to browse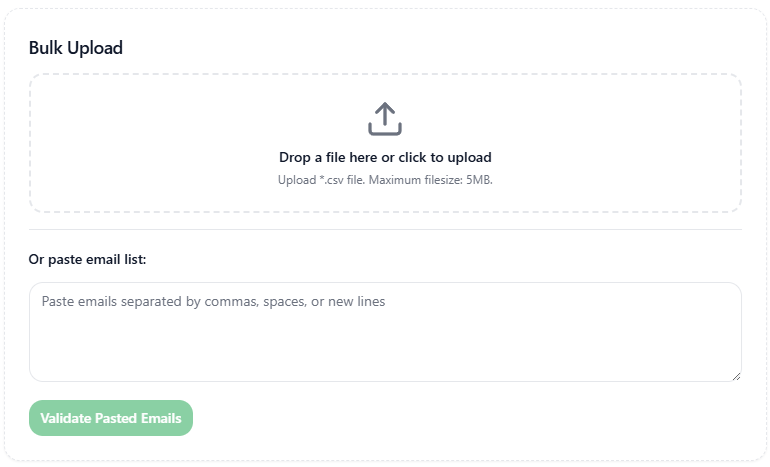
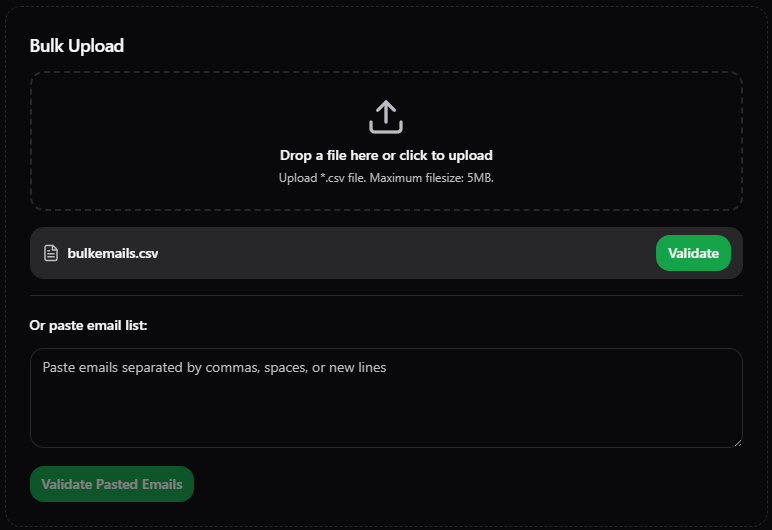
3
Start Validation
Once uploaded, you’ll see your file name with a green Validate button. Click it to begin verification.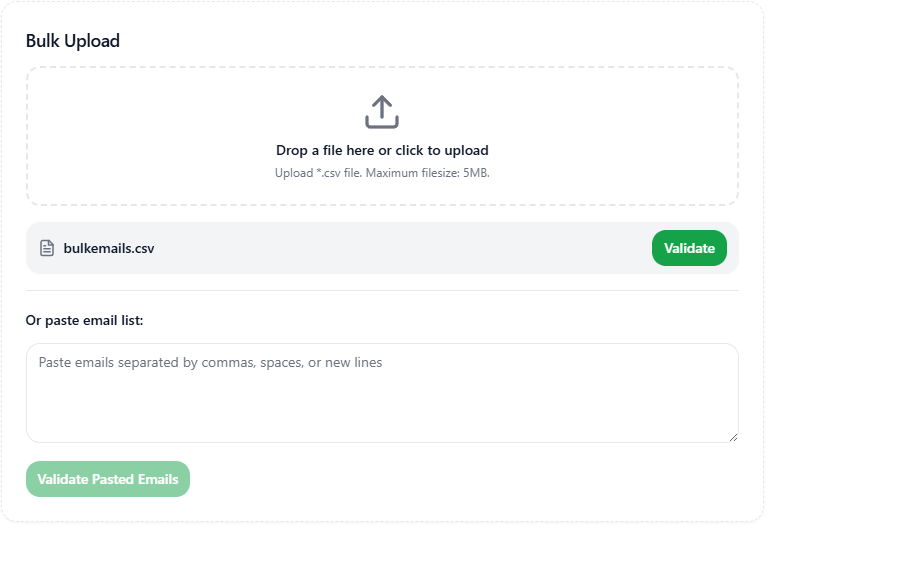
4
Monitor Progress
The verification runs in the background. Track progress in the Recent Validations section.

5
Download Results
When complete, click on the validation entry to view the summary, or use the Download button to export results
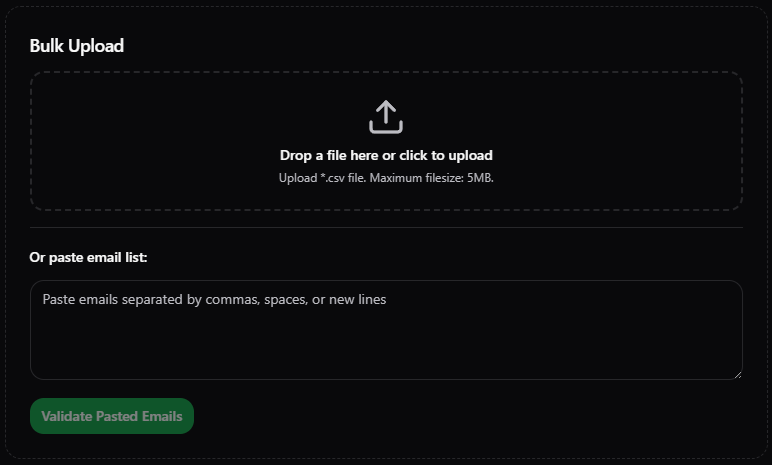
Method 2: Paste Email List
For quick verification without creating a file, paste your emails directly.1
Paste Your Emails
In the Or paste email list section, paste your email addresses (one per line or comma-separated)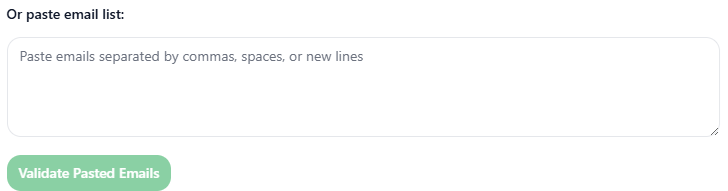
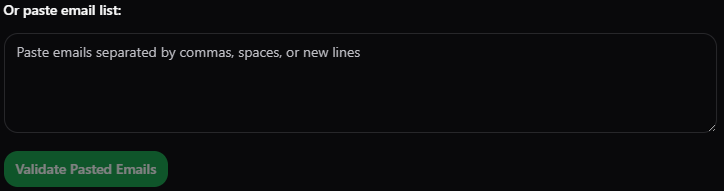
2
Validate
Click the Validate Pasted Emails button (it becomes active once you paste emails)
3
View & Download Results
Results appear in Recent Validations. Click to view the summary or download the report.
Downloading Verification Reports
After bulk verification completes, you can download filtered reports:Valid Only
Download only confirmed valid emails — safe to send
Valid and Catch-All
Include catch-all domains for maximum reach
Invalid Only
Export invalid emails for list cleaning
Download All
Get complete results with all statuses
Credit Usage & Pricing
How are credits consumed?
How are credits consumed?
- 1 credit = 1 email verification
- Bulk verification of 1,000 emails = 1,000 credits
- Credits are deducted when you click Validate
- Invalid/unknown results still consume credits
How do I get more credits?
How do I get more credits?
Purchase verification credits from the Buy Credits page:
Do new subscribers use credits?
Do new subscribers use credits?
No! When subscribers are added through MailGreet (import, API, or forms), their emails are verified automatically at no credit cost. Credits are only used for the standalone verification feature.
Best Practices
Regular Cleaning
Verify your list every 3-6 months to catch emails that have become invalid
Focus on Valid
Prioritize “Valid” emails in campaigns. Use “Catch-All” with caution.
Related Features
Phone Verification
Verify phone numbers for SMS campaigns
Purchase Credits
Buy verification credits for your account
Import Subscribers
Import verified contacts to your lists
Managing Subscribers
Organize and manage your subscriber base