> ## Documentation Index
> Fetch the complete documentation index at: https://docs.mailgreet.com/llms.txt
> Use this file to discover all available pages before exploring further.
# Quickstart
> Send your first email campaign in under 10 minutes
# Getting Started with MailGreet
Welcome to MailGreet! This quickstart guide will walk you through sending your first email campaign. Let's get you up and running in just a few steps.
If you haven't already, [create your free MailGreet account](https://mailgreet.com/signup). Once you've verified your email, log in to your dashboard.
You can also sign up using your Google account for faster onboarding.
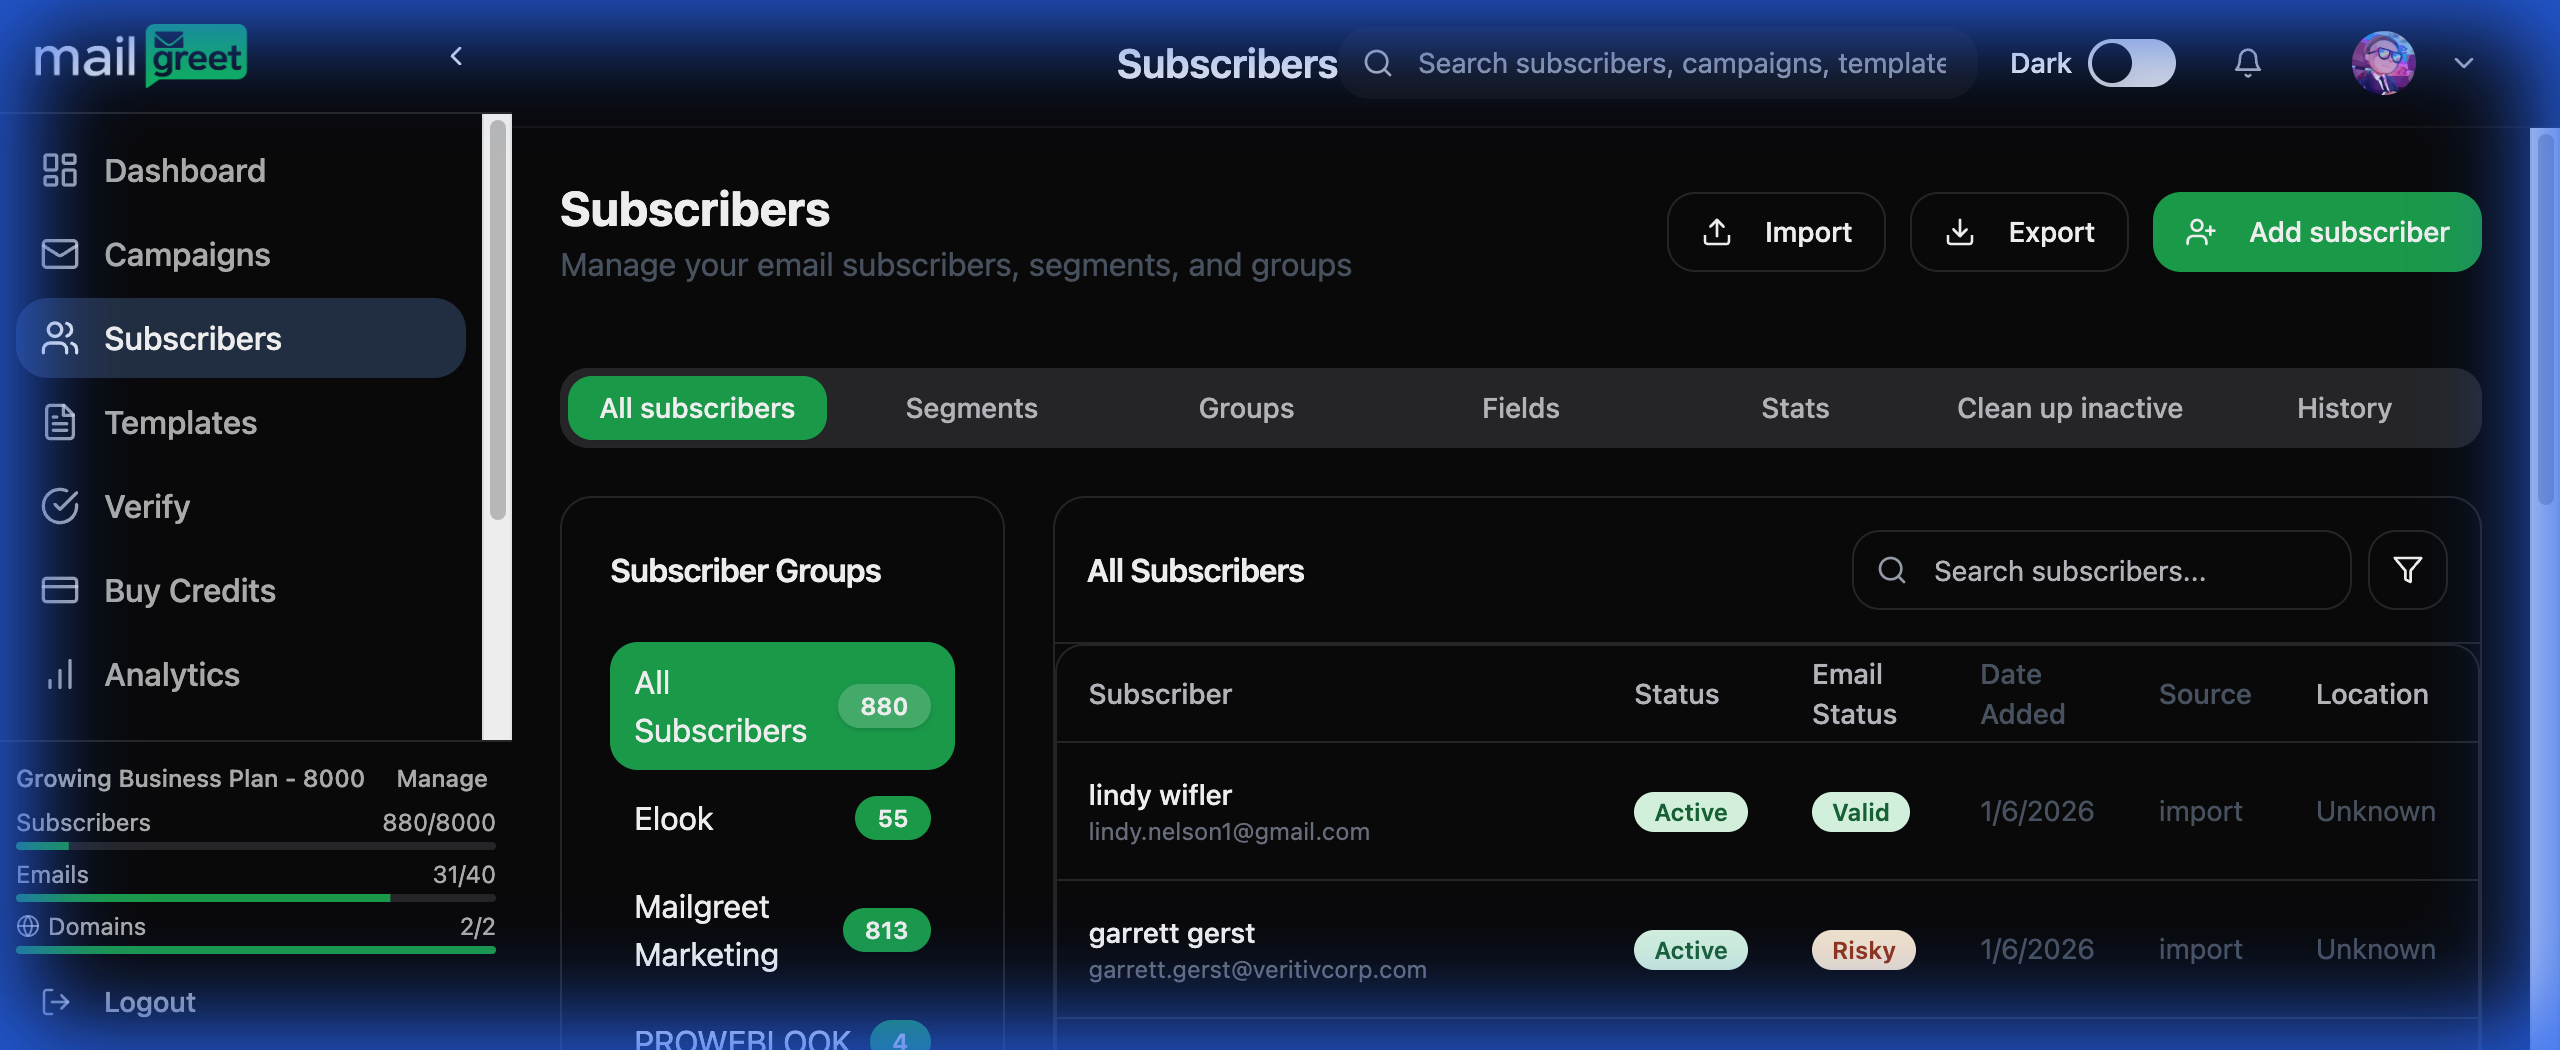
Navigate to **Subscribers** in the sidebar and add your first contacts:
* Click **Add subscriber** for individual contacts
* Click **Import** to upload a CSV file with multiple subscribers
* Create a **Group** to organize your contacts (e.g., "Newsletter", "Customers")
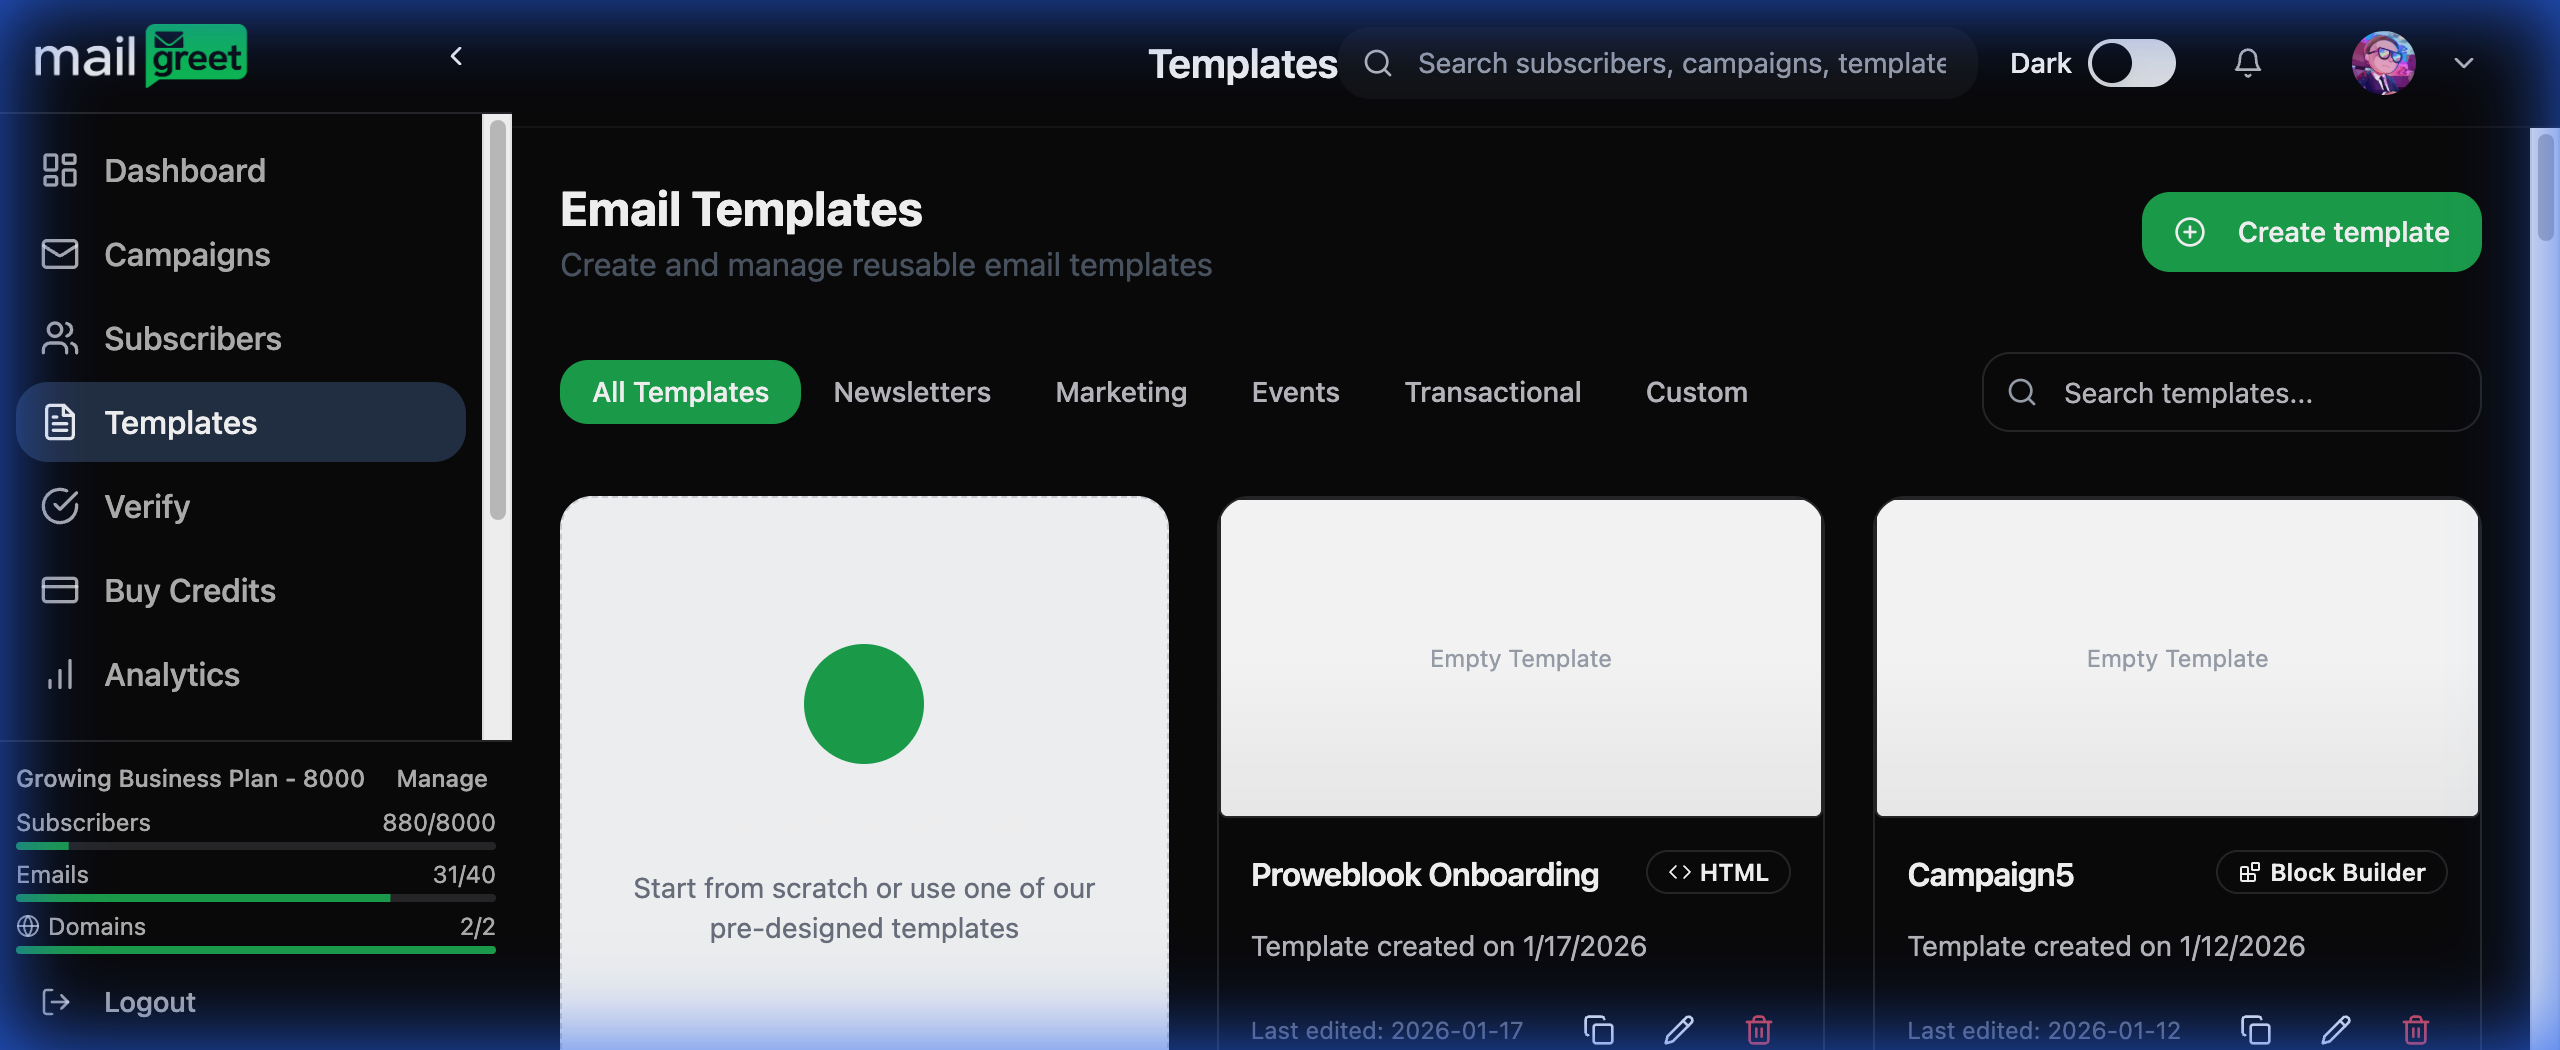
 Go to **Templates** and create your email design:
1. Click **Create template**
2. Choose between **Block Builder** (visual) or **HTML** (code)
3. Select a pre-designed template or start from scratch
4. Customize colors, text, and images to match your brand
5. Save your template for future use
Go to **Templates** and create your email design:
1. Click **Create template**
2. Choose between **Block Builder** (visual) or **HTML** (code)
3. Select a pre-designed template or start from scratch
4. Customize colors, text, and images to match your brand
5. Save your template for future use
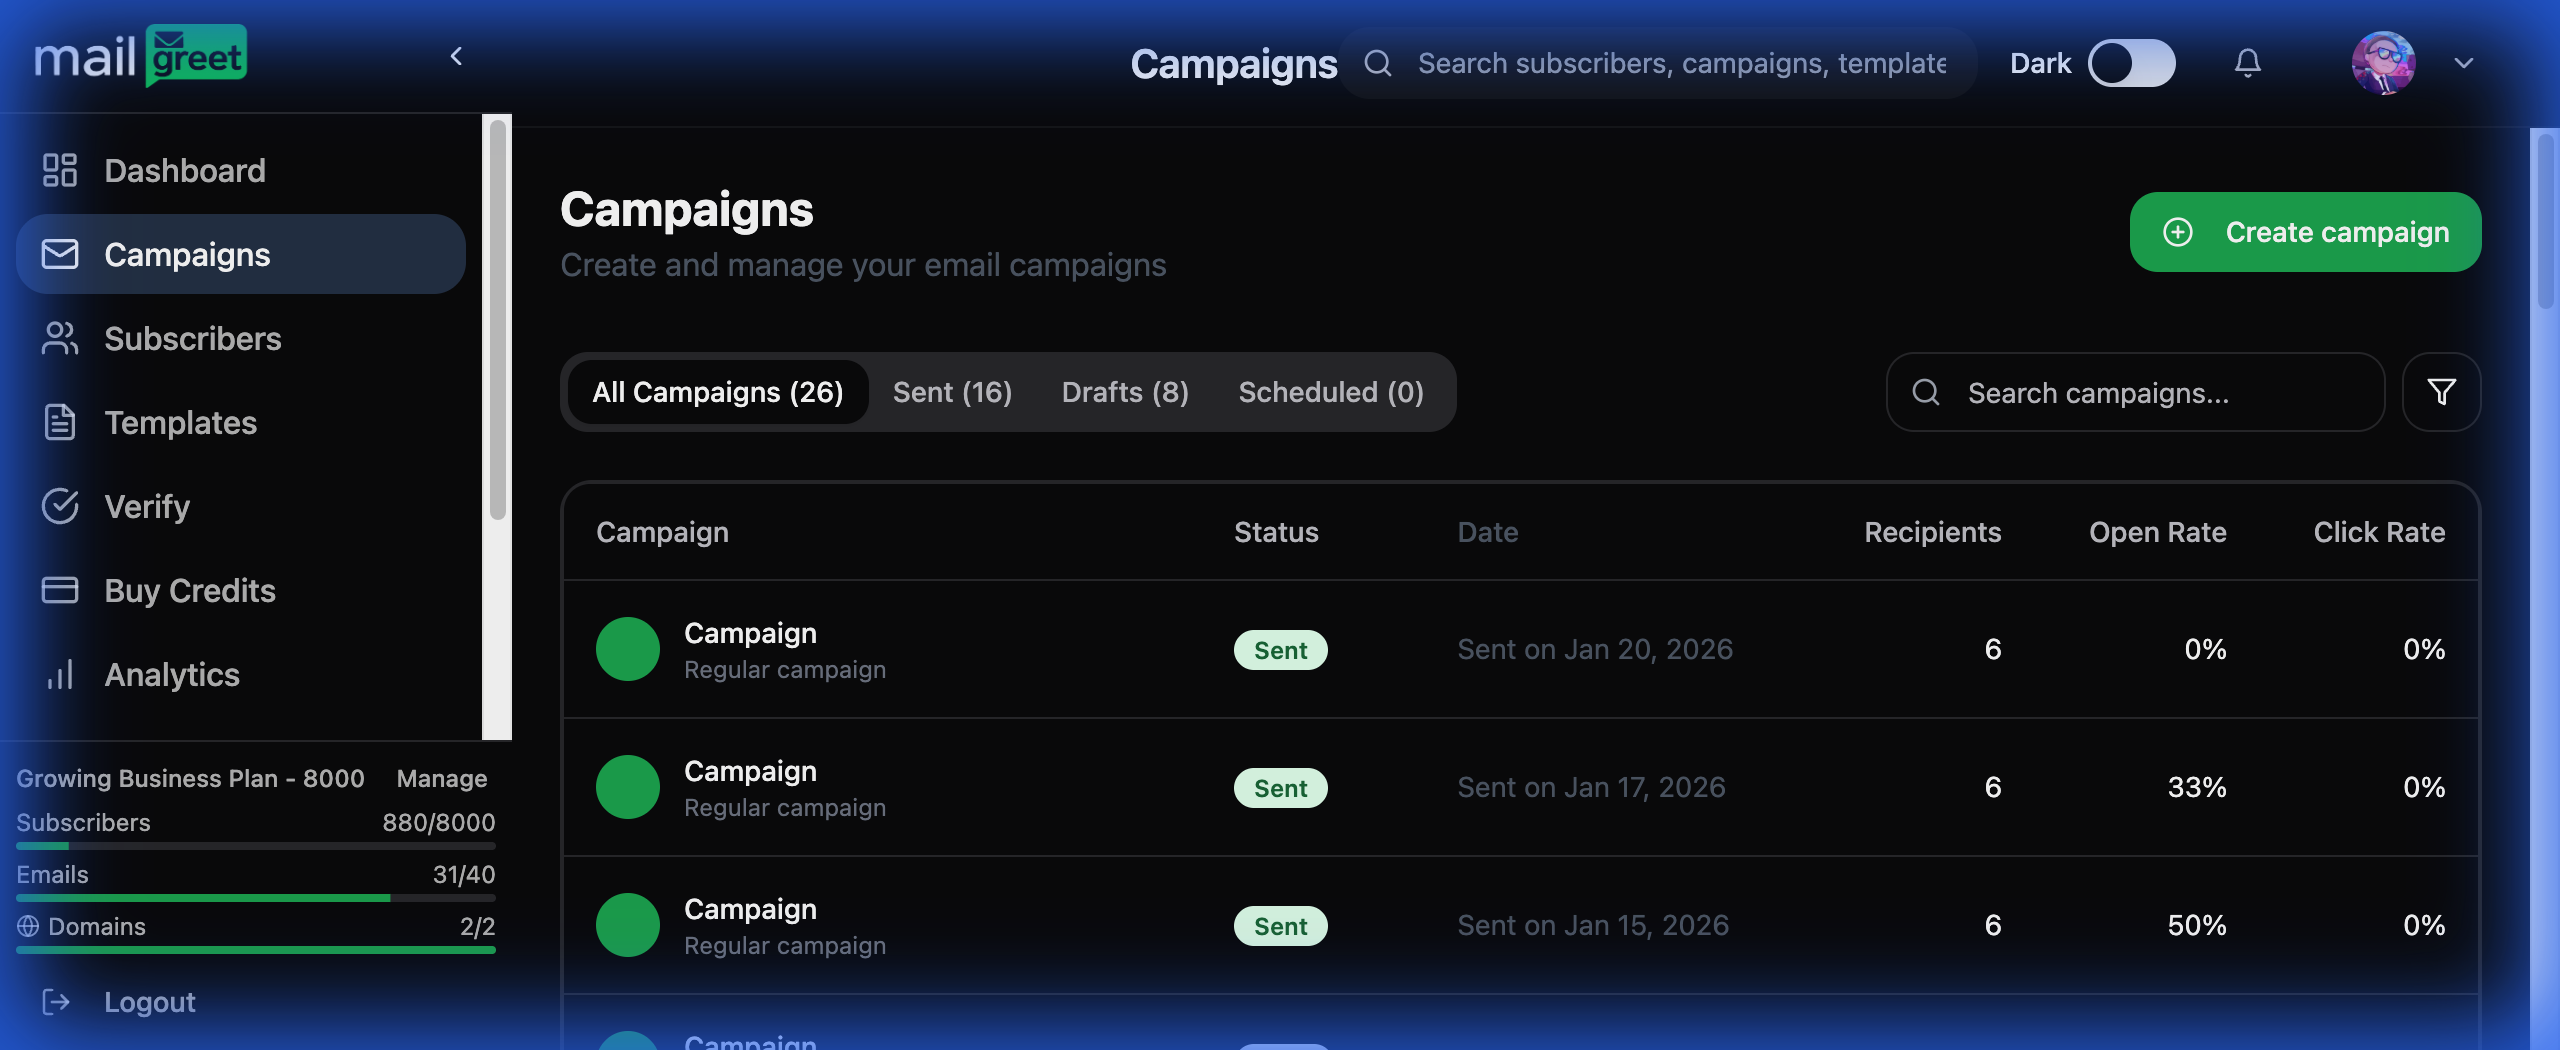
 Head to **Campaigns** and create your first email:
1. Click **Create campaign**
2. Enter your campaign name
3. Select or create your email template
4. Write a compelling subject line
5. Choose which subscriber group to send to
6. Preview and send a test email
7. Schedule or send immediately!
Head to **Campaigns** and create your first email:
1. Click **Create campaign**
2. Enter your campaign name
3. Select or create your email template
4. Write a compelling subject line
5. Choose which subscriber group to send to
6. Preview and send a test email
7. Schedule or send immediately!
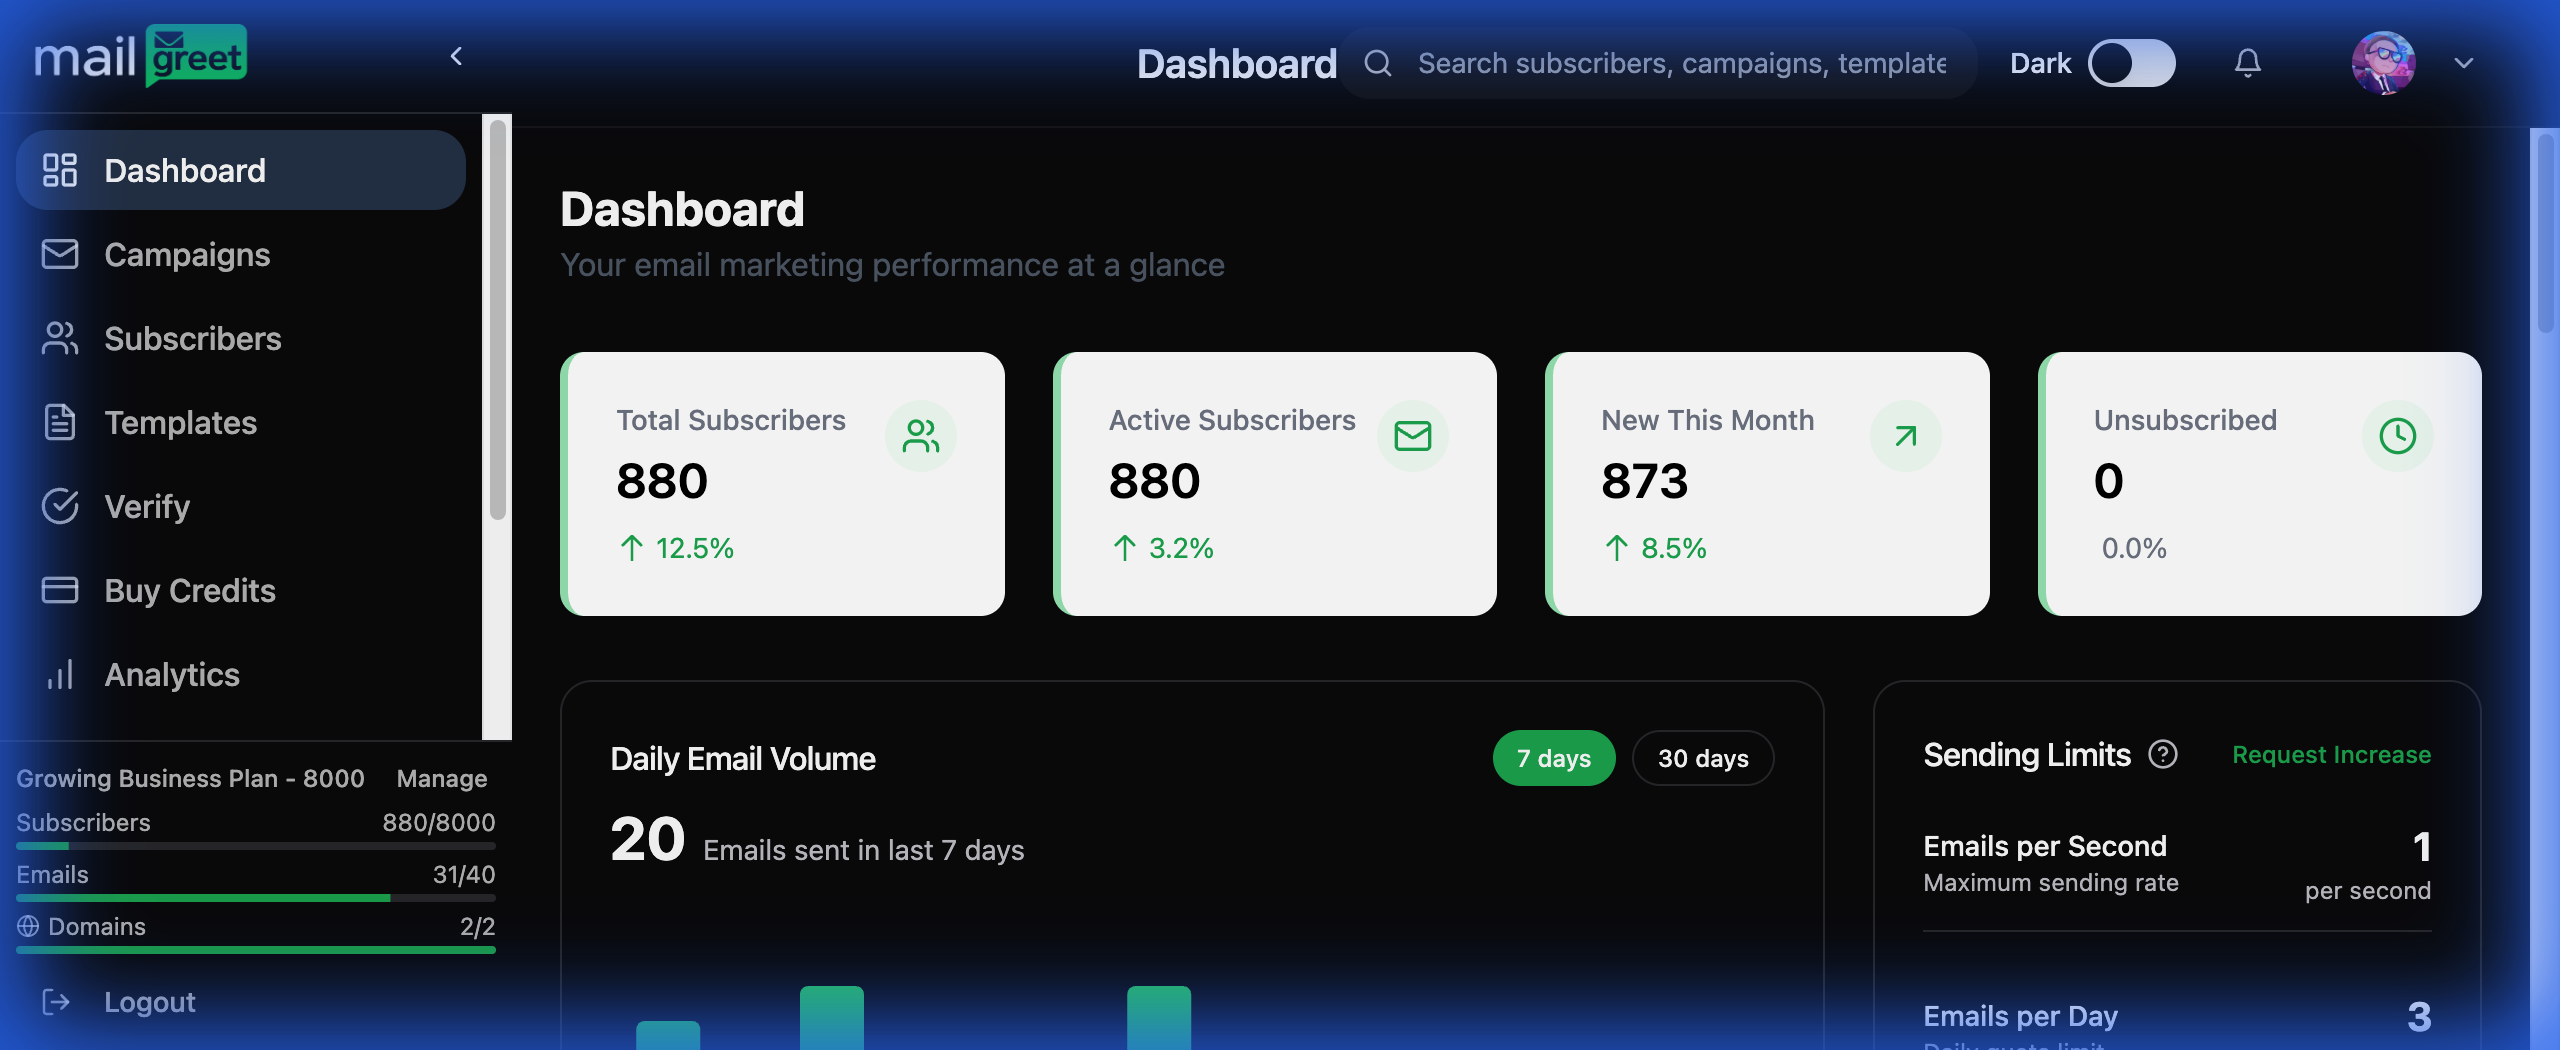
 After sending, monitor your campaign performance from the **Dashboard**:
* **Open Rate**: How many recipients opened your email
* **Click Rate**: Percentage of clicks on your links
* **Bounces**: Undeliverable addresses
* **Unsubscribes**: Contacts who opted out
After sending, monitor your campaign performance from the **Dashboard**:
* **Open Rate**: How many recipients opened your email
* **Click Rate**: Percentage of clicks on your links
* **Bounces**: Undeliverable addresses
* **Unsubscribes**: Contacts who opted out
 ***
## Essential Tips for Success
Improve deliverability by verifying your sending domain in **Settings → Domains**. This shows email providers your emails are legitimate.
Use the built-in **Verify** feature to validate email addresses before sending. Invalid emails hurt your sender reputation.
Always send test emails to yourself before launching a campaign. Check for broken links, images, and formatting.
Use merge tags like `{$first_name}` to personalize emails. Personalized emails get 26% higher open rates.
***
## Keyboard Shortcuts
Speed up your workflow with these handy shortcuts:
| Shortcut | Action |
| ------------------------------------ | ------------- |
| `⌘ + K` (Mac) / `Ctrl + K` (Windows) | Quick search |
| `⌘ + N` | New campaign |
| `⌘ + S` | Save changes |
| `Esc` | Close dialogs |
***
## What's Next?
Now that you've sent your first campaign, explore these features to level up your email marketing:
Create dynamic audiences based on subscriber behavior and attributes
Set up welcome sequences and triggered email workflows
Deep dive into your campaign performance data
Collect and use additional subscriber information
Integrate MailGreet with your apps and services
Keep your list clean with email and phone validation
***
**Need Help?** Our support team is ready to assist you! Email us at [support@mailgreet.com](mailto:support@mailgreet.com) or check our detailed guides in the sidebar.
***
## Essential Tips for Success
Improve deliverability by verifying your sending domain in **Settings → Domains**. This shows email providers your emails are legitimate.
Use the built-in **Verify** feature to validate email addresses before sending. Invalid emails hurt your sender reputation.
Always send test emails to yourself before launching a campaign. Check for broken links, images, and formatting.
Use merge tags like `{$first_name}` to personalize emails. Personalized emails get 26% higher open rates.
***
## Keyboard Shortcuts
Speed up your workflow with these handy shortcuts:
| Shortcut | Action |
| ------------------------------------ | ------------- |
| `⌘ + K` (Mac) / `Ctrl + K` (Windows) | Quick search |
| `⌘ + N` | New campaign |
| `⌘ + S` | Save changes |
| `Esc` | Close dialogs |
***
## What's Next?
Now that you've sent your first campaign, explore these features to level up your email marketing:
Create dynamic audiences based on subscriber behavior and attributes
Set up welcome sequences and triggered email workflows
Deep dive into your campaign performance data
Collect and use additional subscriber information
Integrate MailGreet with your apps and services
Keep your list clean with email and phone validation
***
**Need Help?** Our support team is ready to assist you! Email us at [support@mailgreet.com](mailto:support@mailgreet.com) or check our detailed guides in the sidebar.