> ## Documentation Index
> Fetch the complete documentation index at: https://docs.mailgreet.com/llms.txt
> Use this file to discover all available pages before exploring further.
# Groups & Segments
> Organize subscribers with groups and create dynamic segments based on conditions for targeted email campaigns in MailGreet
## Groups
**Note**: In other email marketing platforms, groups may also be referred to as **tags**, **lists**, or **audiences**.
## Create a Group
To create a group:-
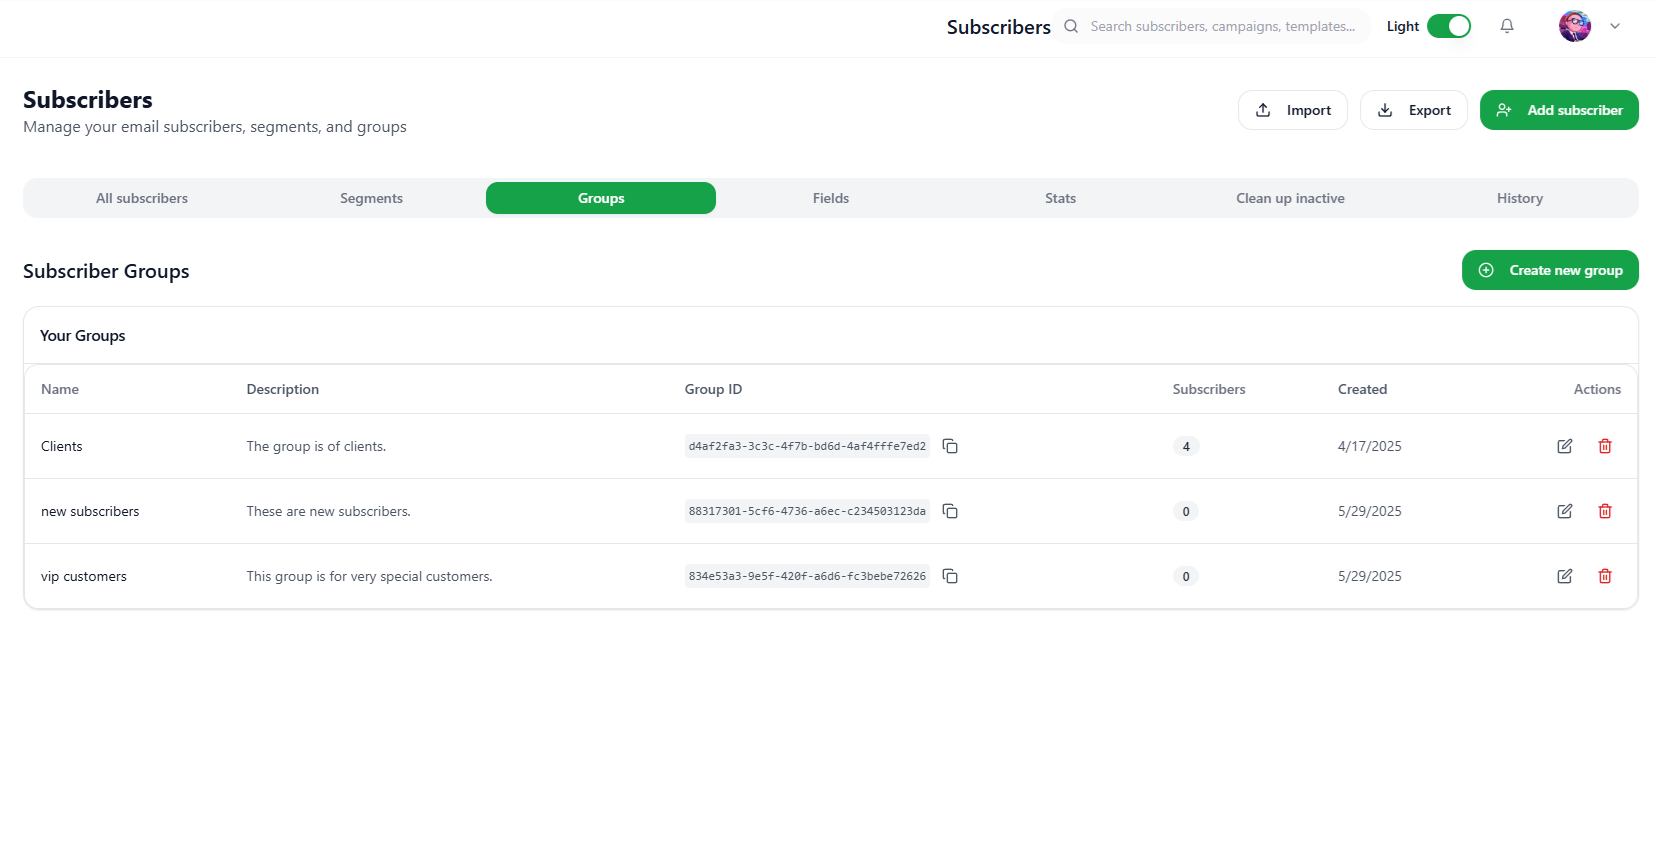
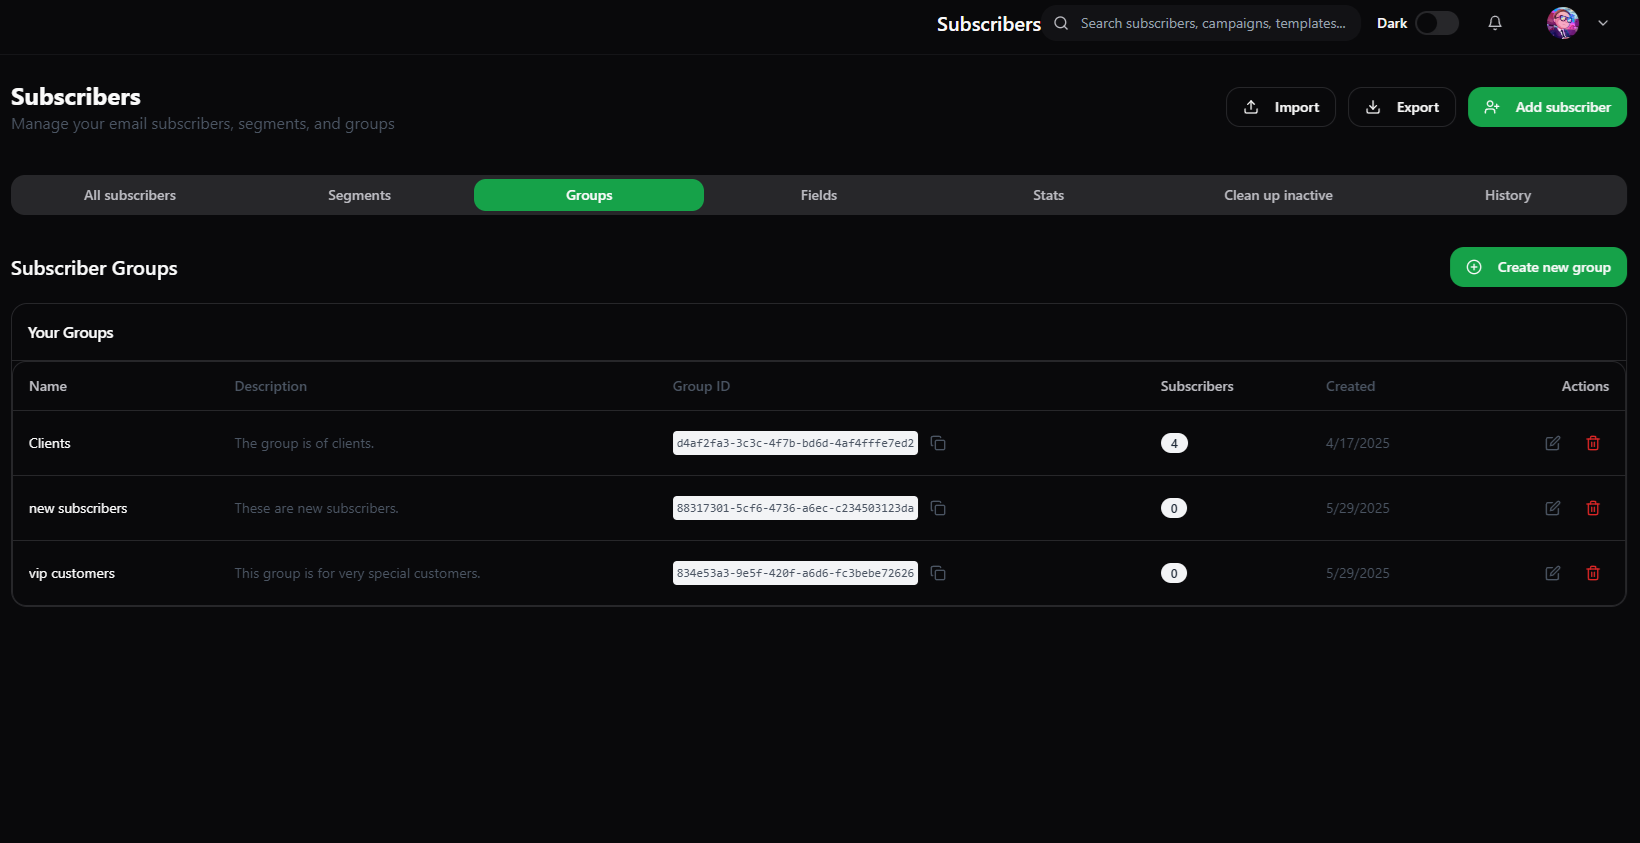
1. Navigate to the [Subscribers](https://mailgreet.com/dashboard/subscribers) page.
2. Click on the **Groups** tab.
3. Click on the **Create new group** button.
4. A dialog box will appear.
5. Provide the group name.
6. Also provide the group description.
7. Click on the **Create Group** button.
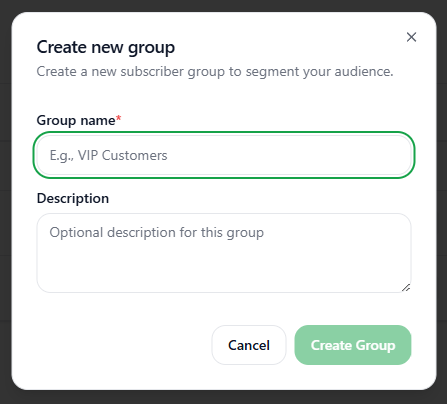
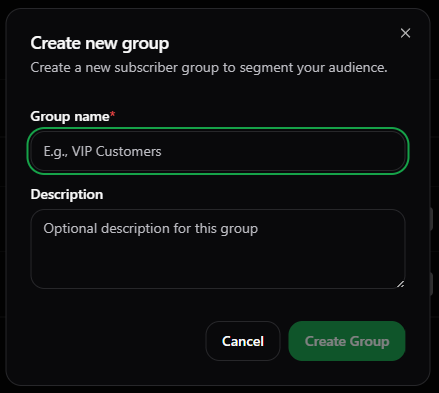 Now, the new group is successfully created and will be shown under the **Subscriber Groups** section.
 ## Edit a Group
To edit a group:-
1. Navigate to the [Subscribers](https://mailgreet.com/dashboard/subscribers) page.
2. Click on the **Groups** tab.
3. Under **Your Groups** section, Click on the **Edit group** button under the **Actions** field.
## Edit a Group
To edit a group:-
1. Navigate to the [Subscribers](https://mailgreet.com/dashboard/subscribers) page.
2. Click on the **Groups** tab.
3. Under **Your Groups** section, Click on the **Edit group** button under the **Actions** field.
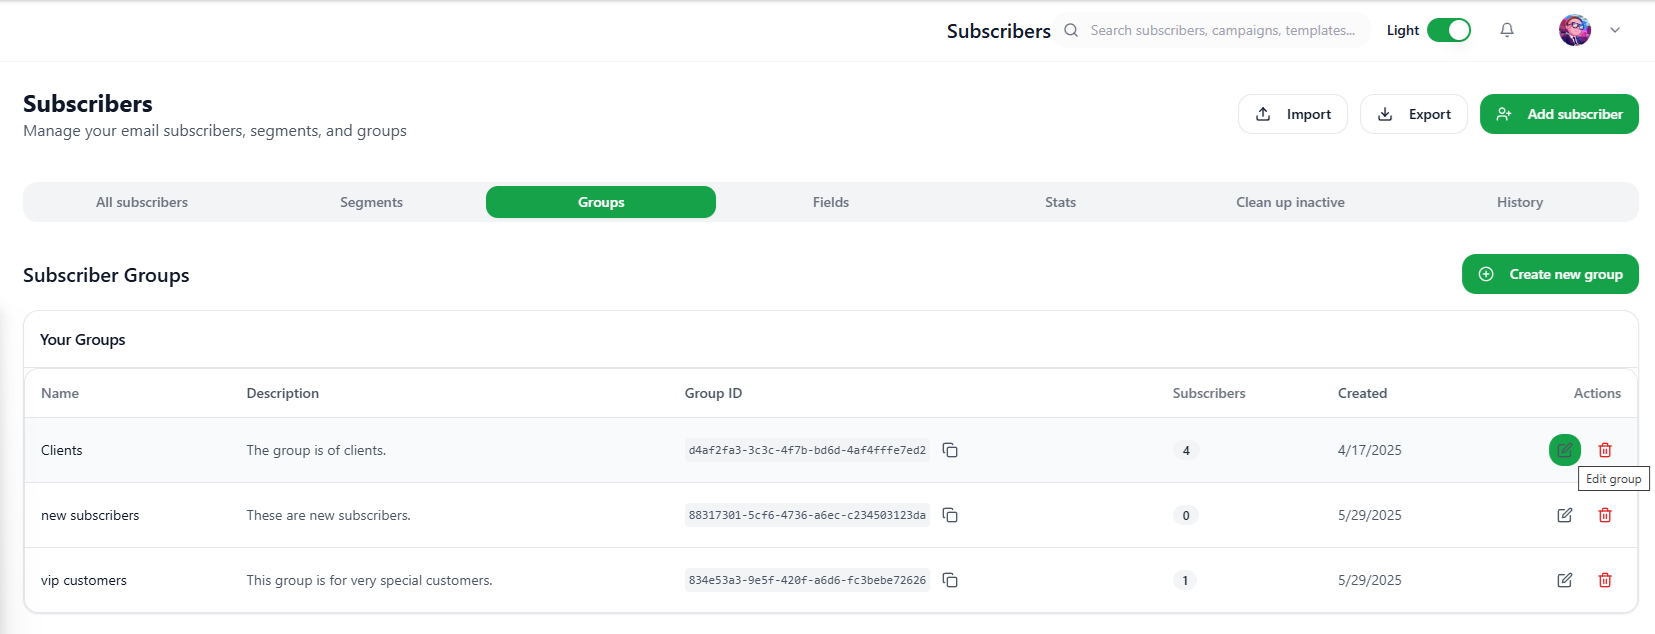
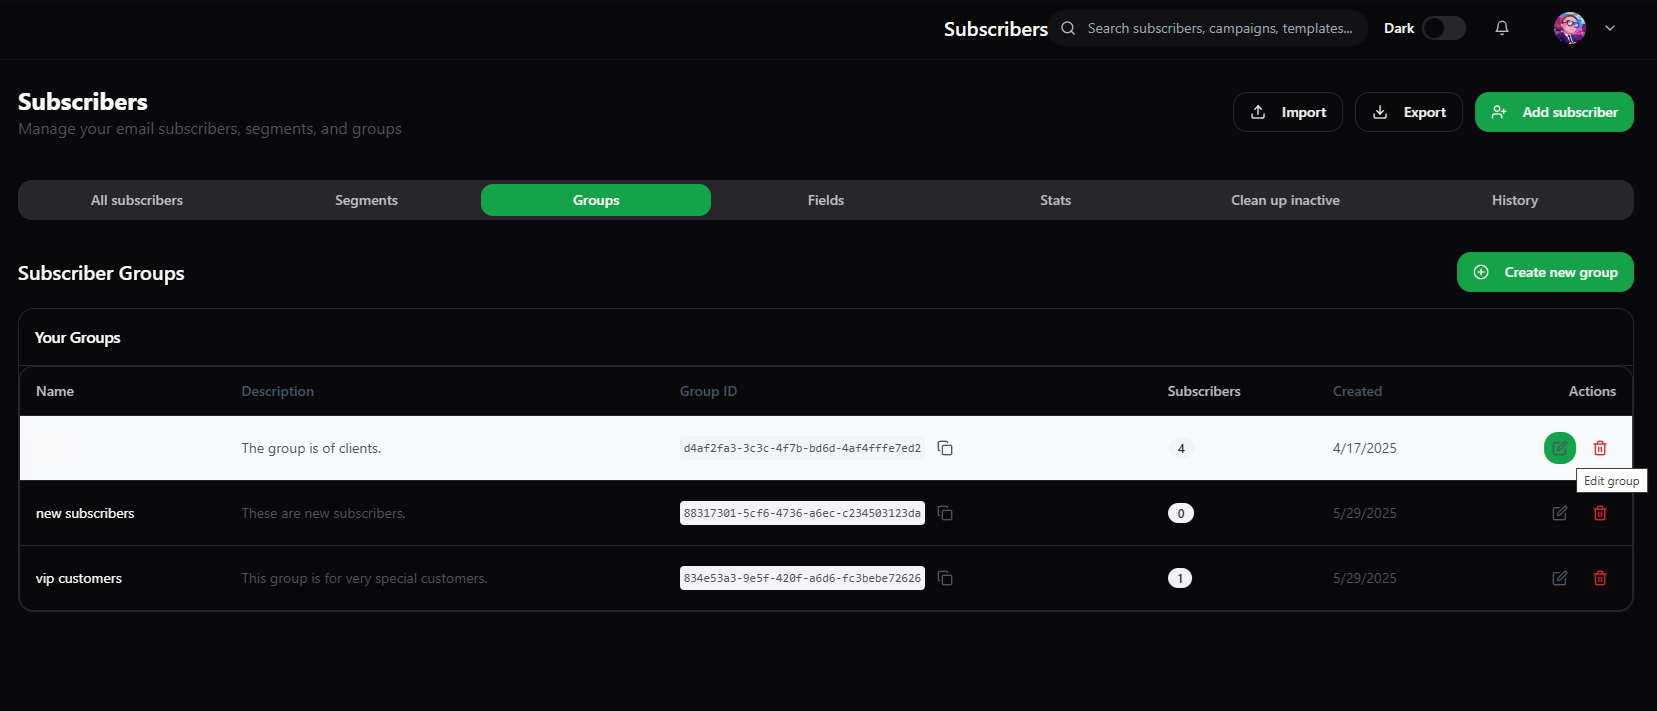 4. A **Edit group** dialog box will appear.
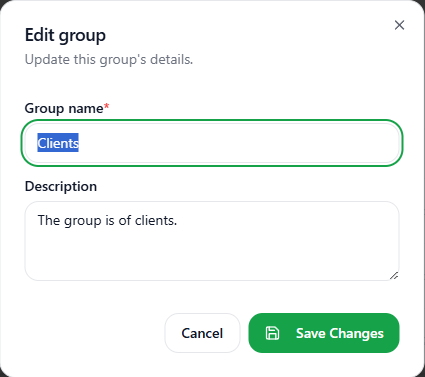
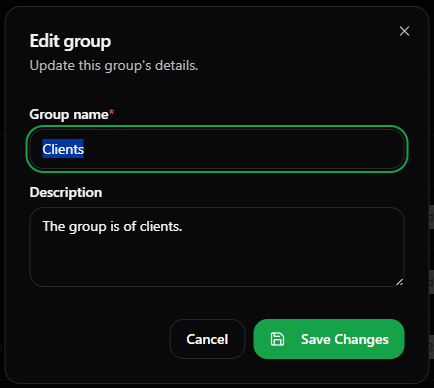 5. Now, you can change the **Group name** or the **Group Description**.
6. After changes, click the **Save Changes** button.
7. Your changes will be immediately reflected in the **Groups** tab.
## Change Group of Subscriber
To change the group of a subscriber:-
1. Navigate to the [Subscribers](https://mailgreet.com/dashboard/subscribers) page.
2. Click on the **All subscribers** tab.
3. Under **All Subscribers** section, Click on the particular subscriber whose group you want to change.
4. On the page of the subscriber, under the **Contact Information** section, click the **Edit** button.
5. Now, you can change the **Group name** or the **Group Description**.
6. After changes, click the **Save Changes** button.
7. Your changes will be immediately reflected in the **Groups** tab.
## Change Group of Subscriber
To change the group of a subscriber:-
1. Navigate to the [Subscribers](https://mailgreet.com/dashboard/subscribers) page.
2. Click on the **All subscribers** tab.
3. Under **All Subscribers** section, Click on the particular subscriber whose group you want to change.
4. On the page of the subscriber, under the **Contact Information** section, click the **Edit** button.
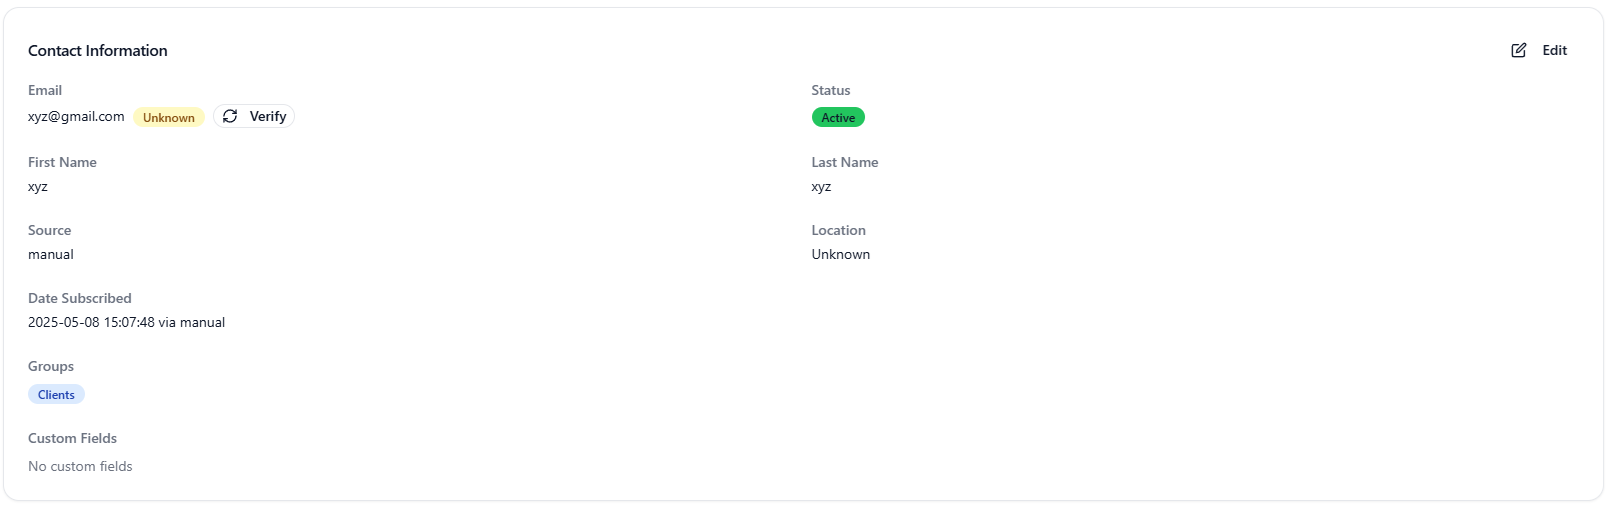
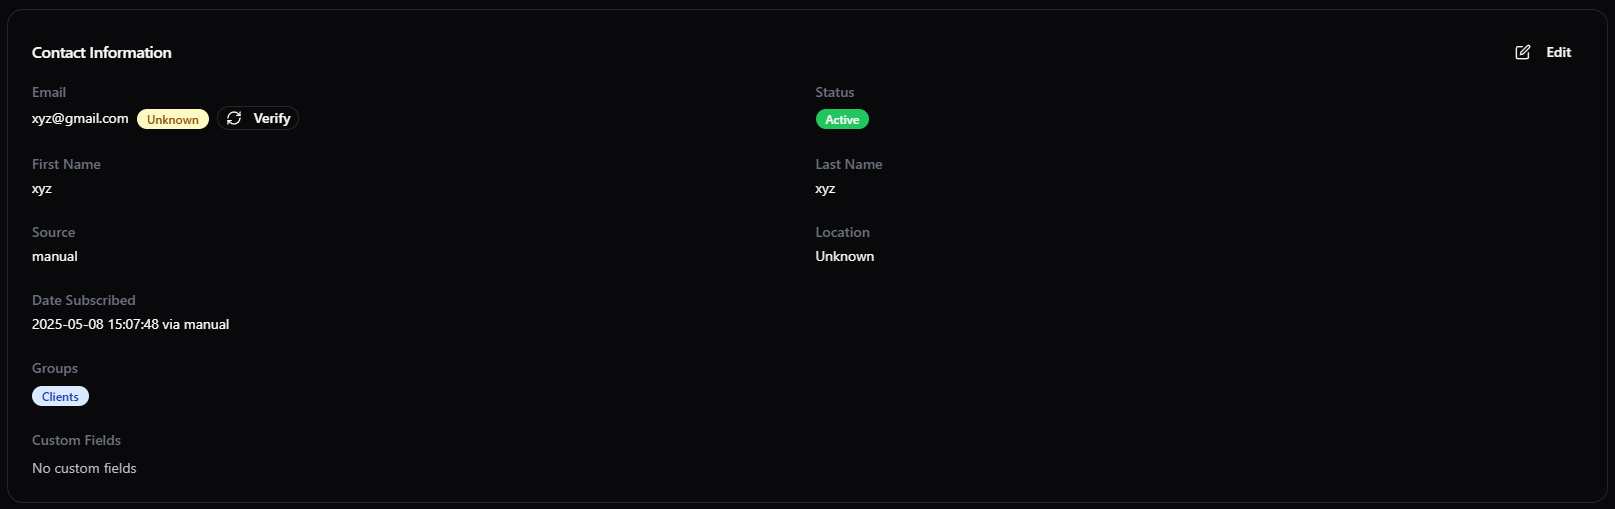 5. A new dialog box will appear.
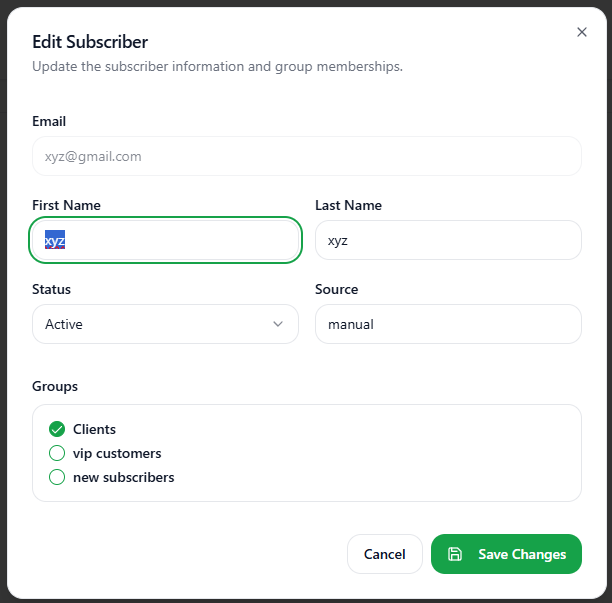
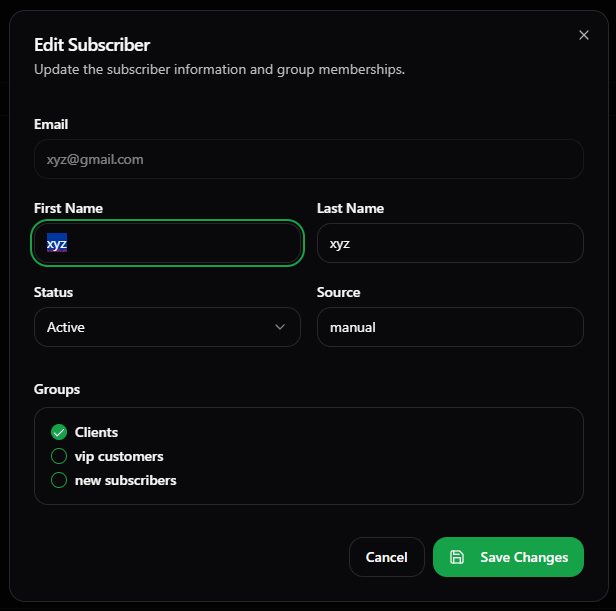 6. Under the **Groups** section, choose the new group.
7. And deselect the previous group the subscriber was attached to.
8. Click on the **Save Changes** button.
9. Now, you have successfully changed the group of the subscriber.
## Add Subscriber to Multiple Groups
To add subscriber to multiple groups:-
1. Navigate to the [Subscribers](https://mailgreet.com/dashboard/subscribers) page.
2. Click on the **All subscribers** tab.
3. Under **All Subscribers** section, Click on the particular subscriber whose group you want to change.
4. On the page of the subscriber, under the **Contact Information** section, click the **Edit** button.
5. A new dialog box will appear.
6. Under the **Groups** section, choose the new group.
7. Now, you have more than one group selected.
8. Click on the **Save Changes** button.
9. Now, you have successfully add multiple groups to a single subscriber.
## Delete a Group
To delete a group:-
1. Navigate to the [Subscribers](https://mailgreet.com/dashboard/subscribers) page.
2. Click on the **Groups** tab.
3. Under **Your Groups** section, Click on the **Delete group** button under the **Actions** field.
6. Under the **Groups** section, choose the new group.
7. And deselect the previous group the subscriber was attached to.
8. Click on the **Save Changes** button.
9. Now, you have successfully changed the group of the subscriber.
## Add Subscriber to Multiple Groups
To add subscriber to multiple groups:-
1. Navigate to the [Subscribers](https://mailgreet.com/dashboard/subscribers) page.
2. Click on the **All subscribers** tab.
3. Under **All Subscribers** section, Click on the particular subscriber whose group you want to change.
4. On the page of the subscriber, under the **Contact Information** section, click the **Edit** button.
5. A new dialog box will appear.
6. Under the **Groups** section, choose the new group.
7. Now, you have more than one group selected.
8. Click on the **Save Changes** button.
9. Now, you have successfully add multiple groups to a single subscriber.
## Delete a Group
To delete a group:-
1. Navigate to the [Subscribers](https://mailgreet.com/dashboard/subscribers) page.
2. Click on the **Groups** tab.
3. Under **Your Groups** section, Click on the **Delete group** button under the **Actions** field.
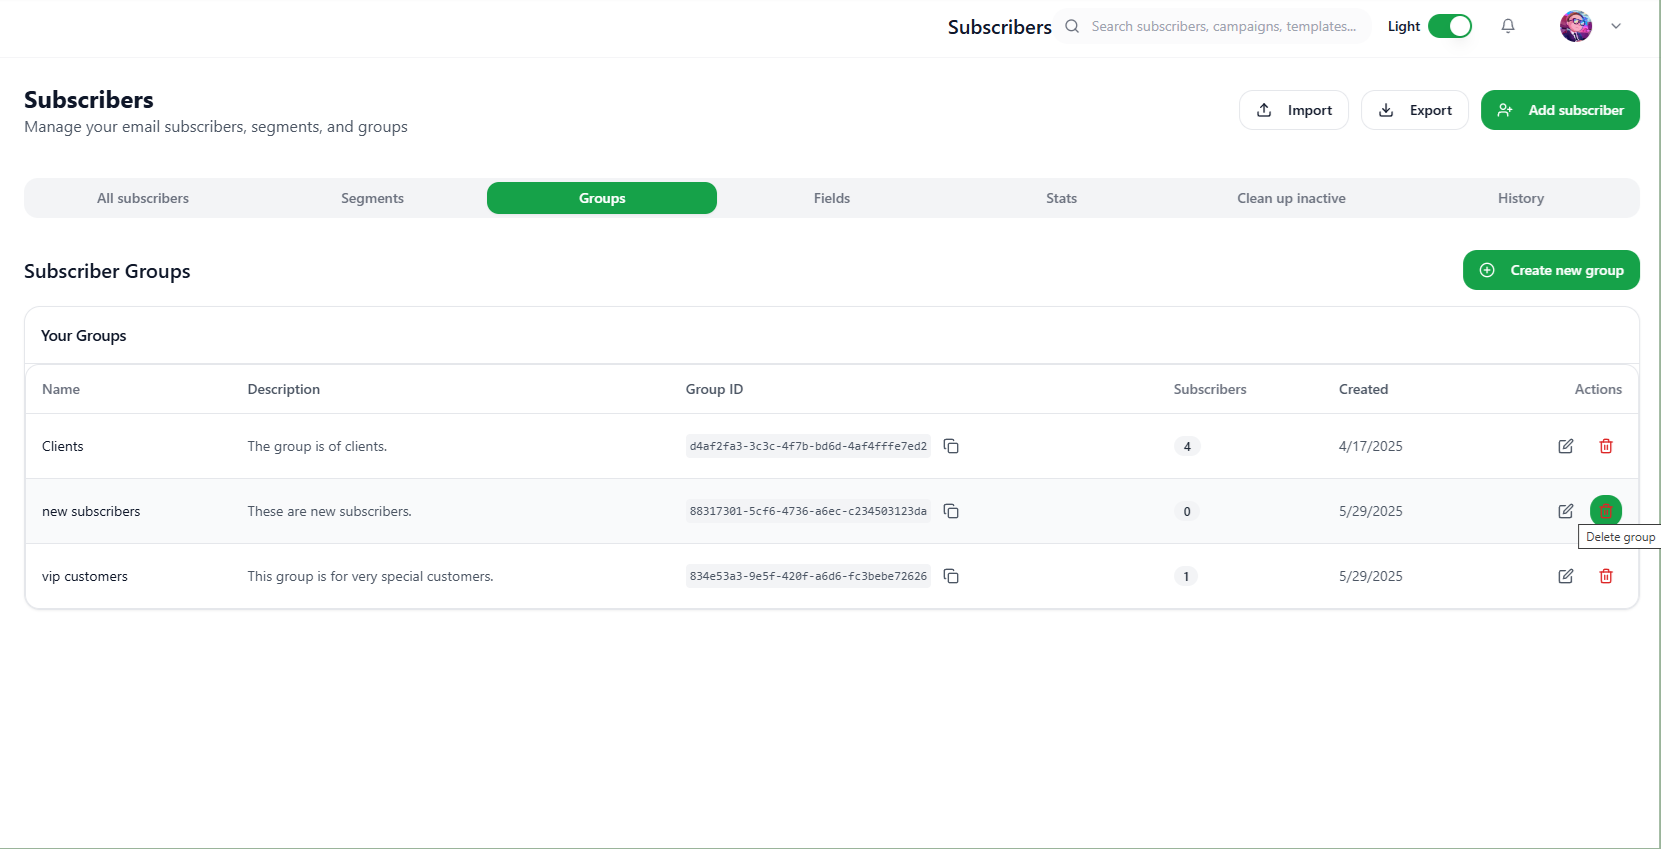
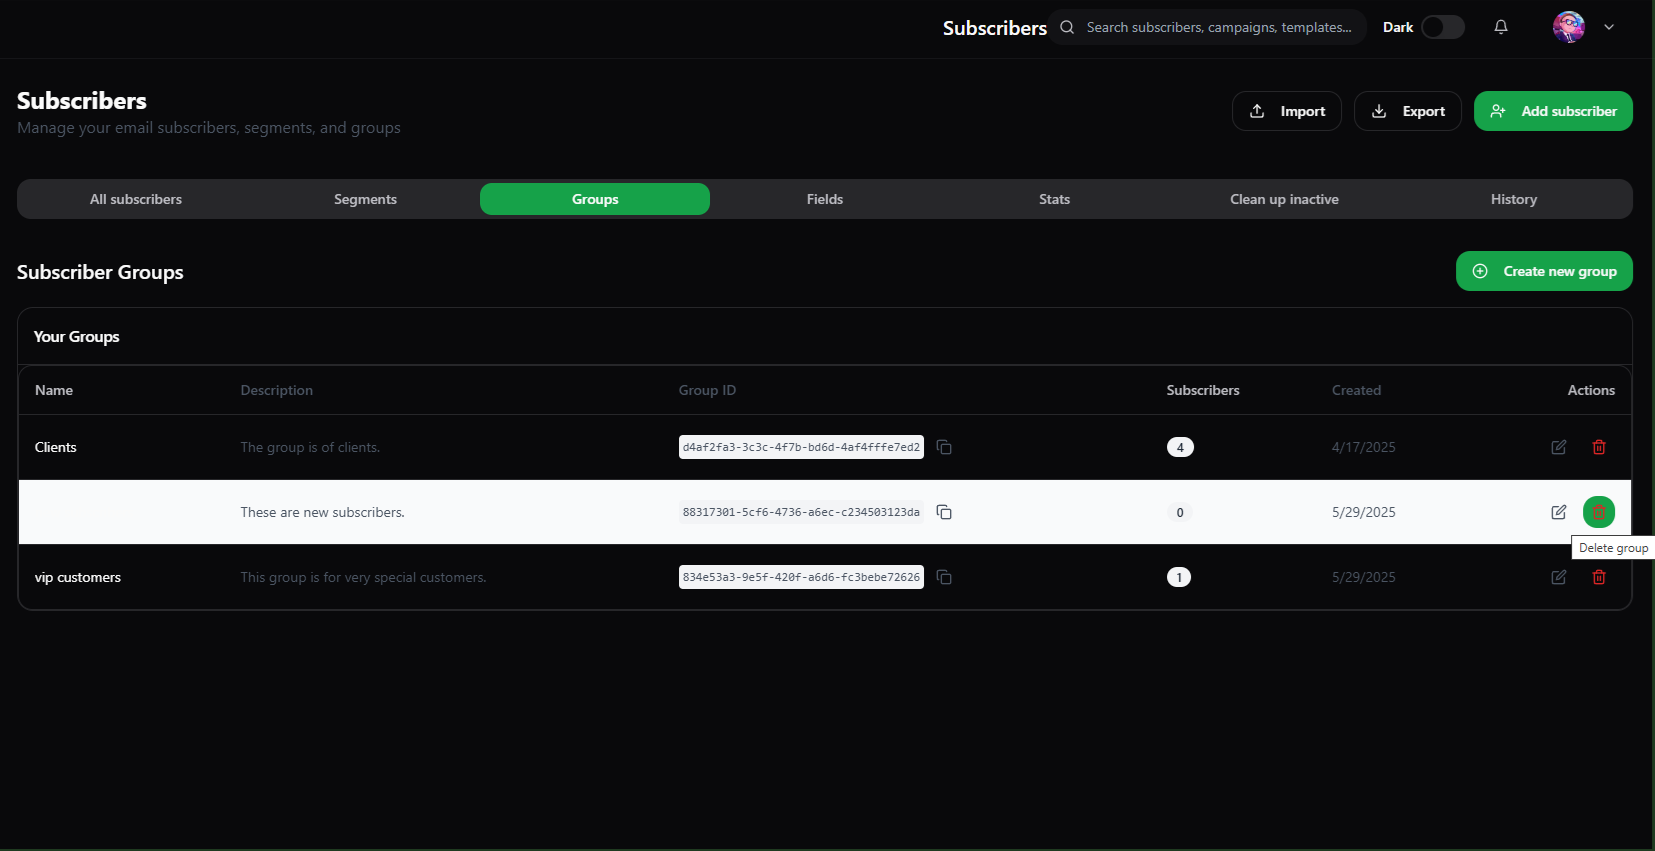 4. A new Dialog box will appear.
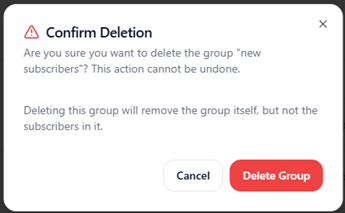
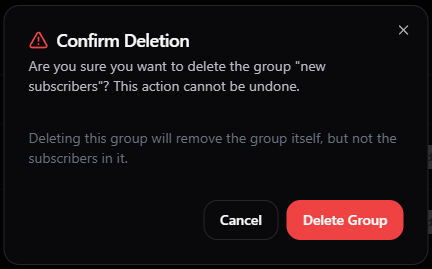 5. Click on the **Delete Group** button.
6. The Group is successfully deleted.
**Note**: Deleting a group will only delete the list itself, but the subscribers in the group will remain in your account. Deleting a group does **not** delete the subscribers inside it.
## Segments
At **MailGreet**, a segment is a dynamic list of subscribers filtered by specific rules you set. Use our powerful filtering tools to create segments based on subscriber data like groups, custom fields, signup date, location, campaign activity, automation workflows, inactivity, and more.
Once you define your rule(s), MailGreet instantly shows you which subscribers match—giving you a clear view of your segment’s size and who’s in it. It’s an easy way to target the right people with the right message.
## Benefits of Segments
Create targeted subscriber segments based on:
1. Demographic data
2. Engagement metrics (opens, clicks)
3. Purchase history
4. Custom field values
5. Website activity
## Create a Segment
To create a segment:-
1. Navigate to the [Subscribers](https://mailgreet.com/dashboard/subscribers) page.
2. Click on the **Segments** tab.
5. Click on the **Delete Group** button.
6. The Group is successfully deleted.
**Note**: Deleting a group will only delete the list itself, but the subscribers in the group will remain in your account. Deleting a group does **not** delete the subscribers inside it.
## Segments
At **MailGreet**, a segment is a dynamic list of subscribers filtered by specific rules you set. Use our powerful filtering tools to create segments based on subscriber data like groups, custom fields, signup date, location, campaign activity, automation workflows, inactivity, and more.
Once you define your rule(s), MailGreet instantly shows you which subscribers match—giving you a clear view of your segment’s size and who’s in it. It’s an easy way to target the right people with the right message.
## Benefits of Segments
Create targeted subscriber segments based on:
1. Demographic data
2. Engagement metrics (opens, clicks)
3. Purchase history
4. Custom field values
5. Website activity
## Create a Segment
To create a segment:-
1. Navigate to the [Subscribers](https://mailgreet.com/dashboard/subscribers) page.
2. Click on the **Segments** tab.
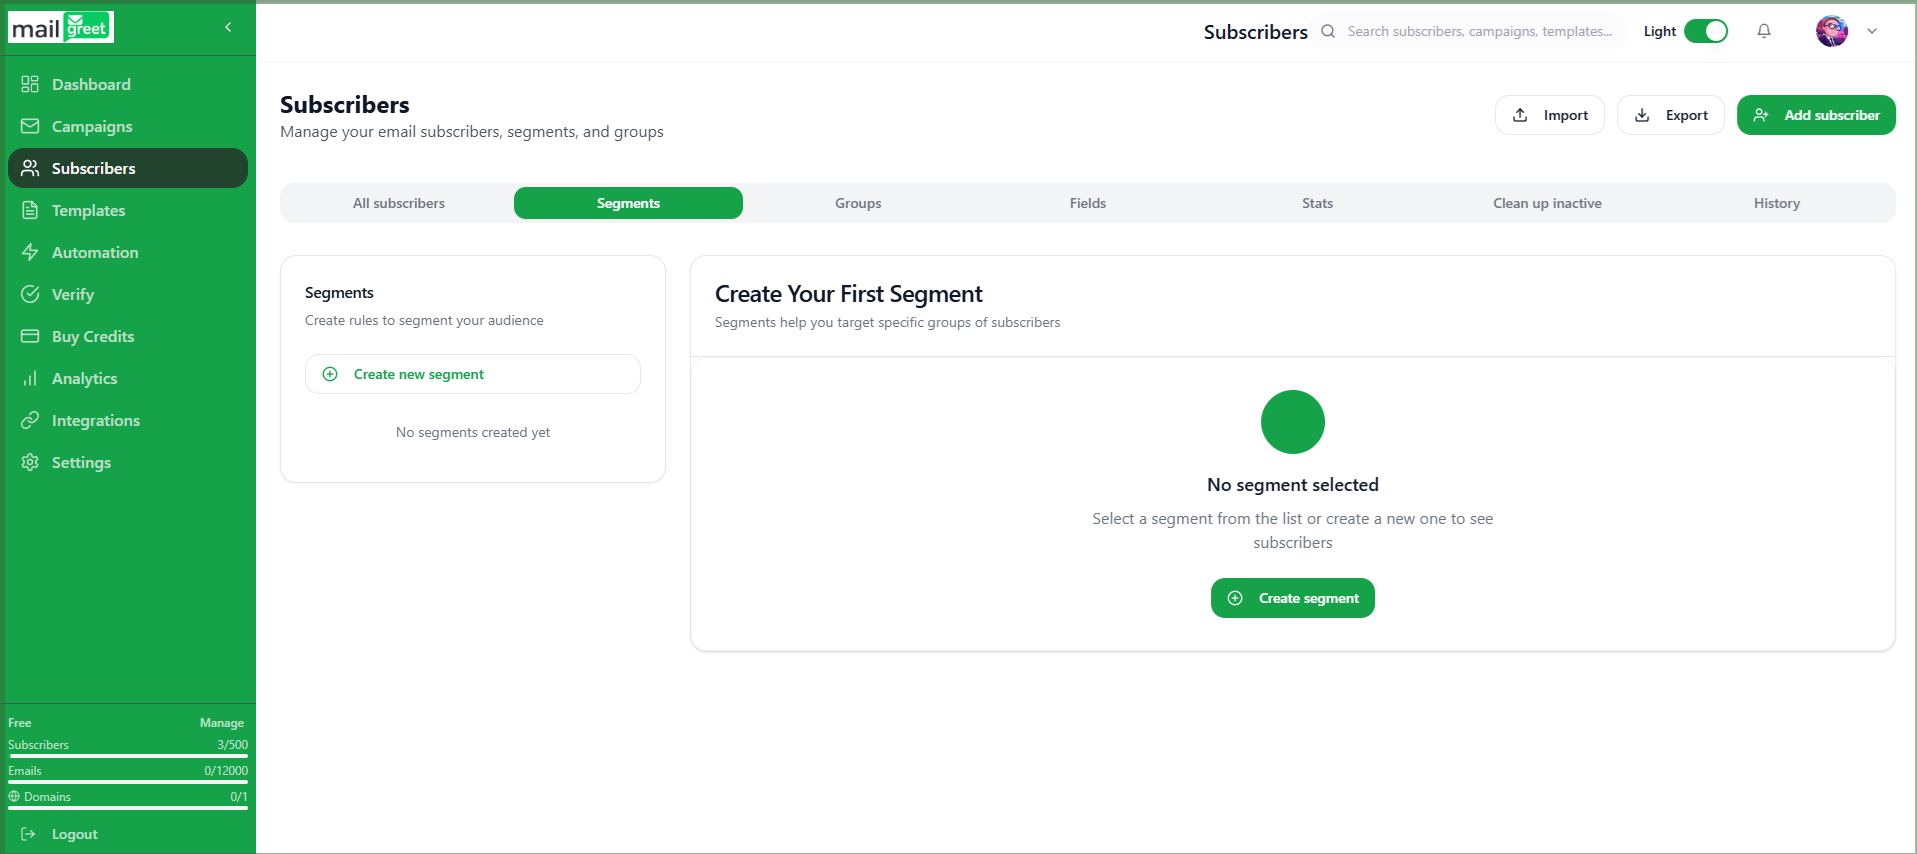
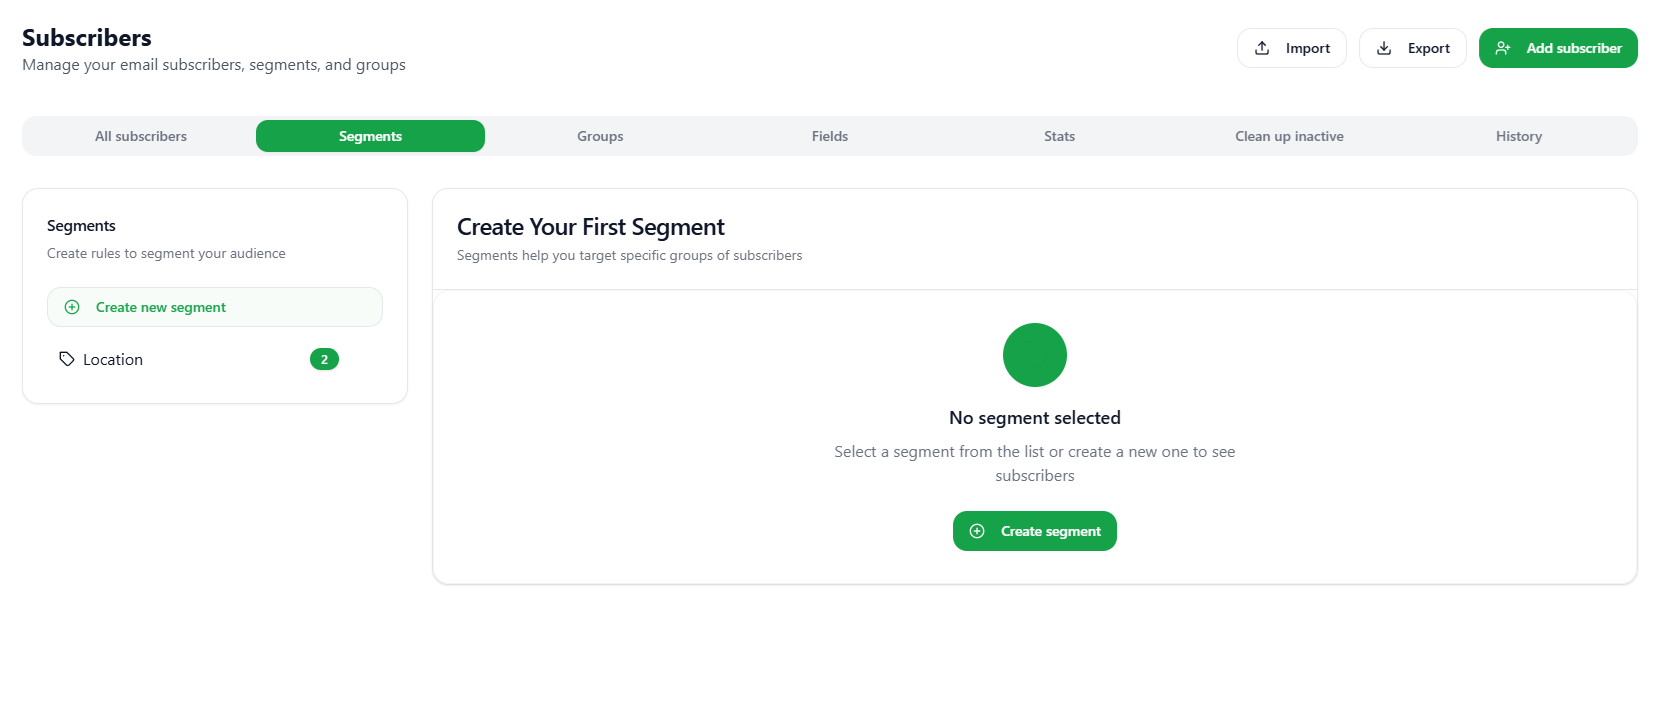
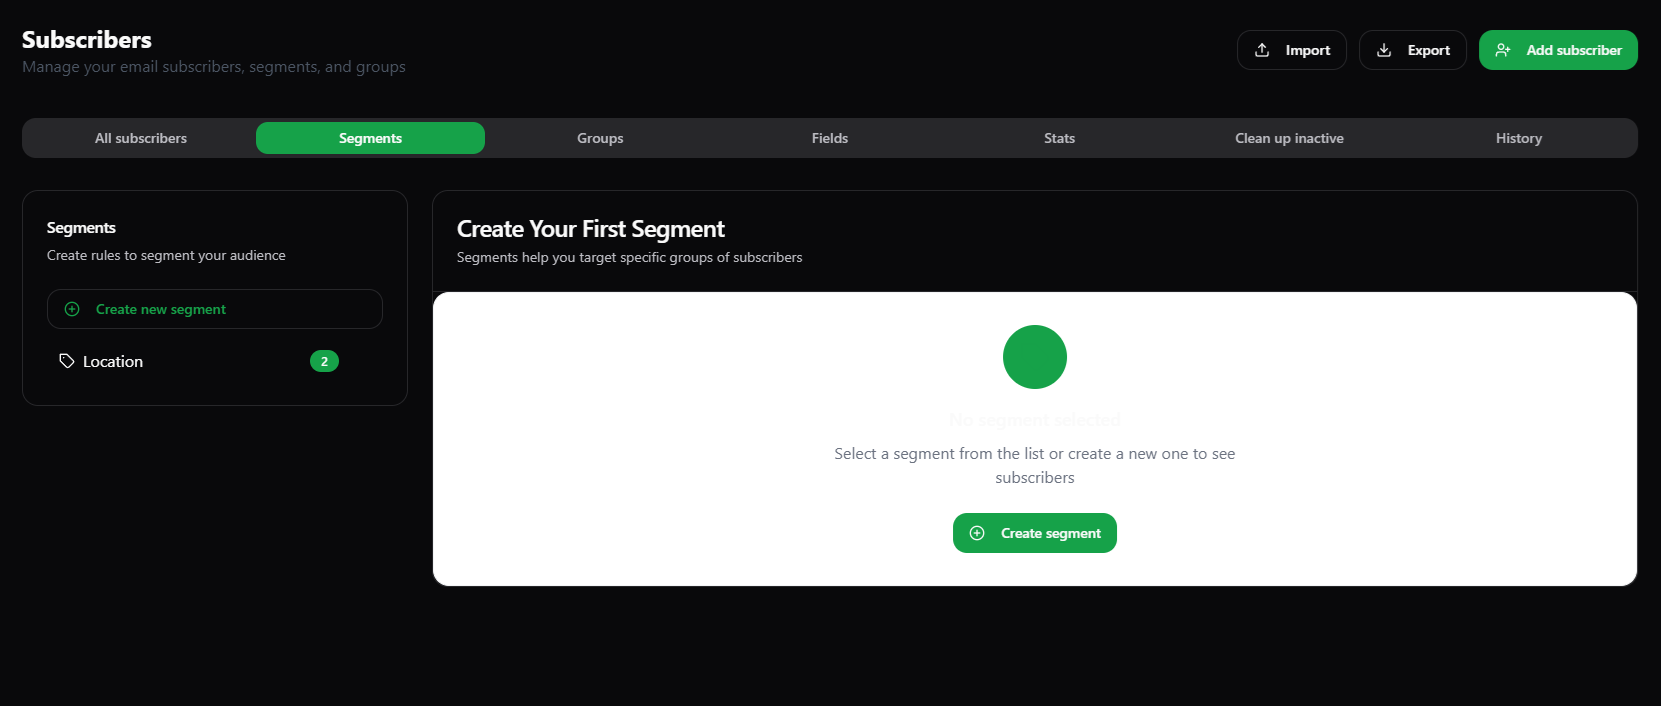
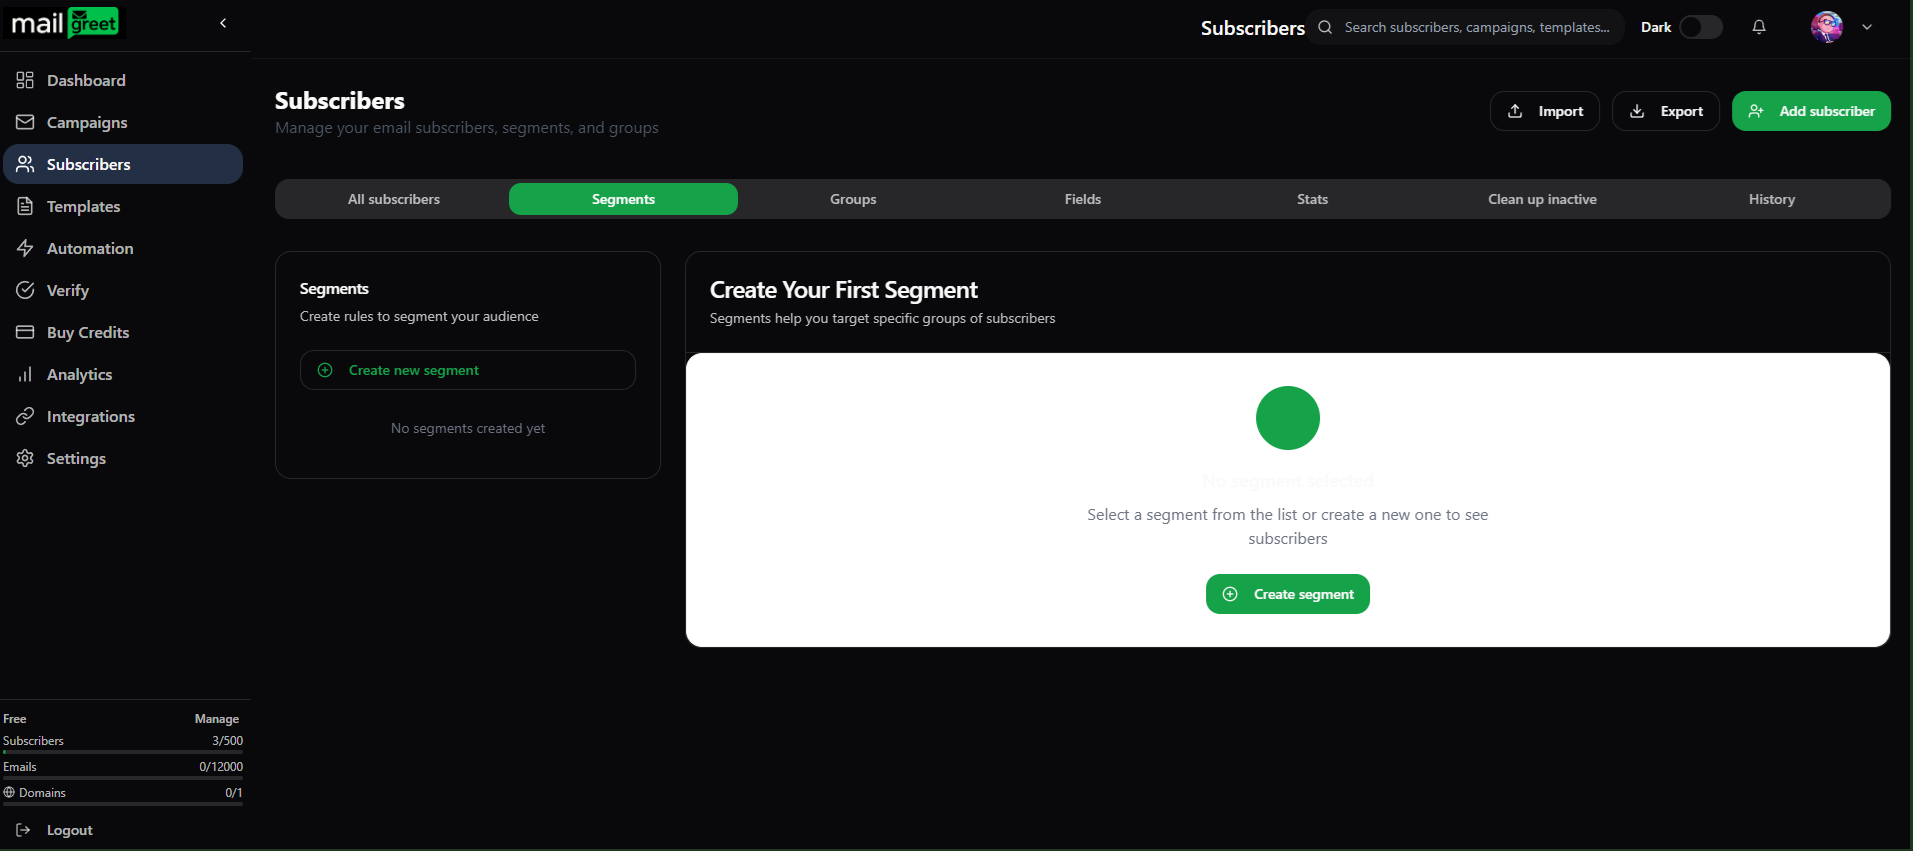 3. Click on the **Create new segment** button in the **Segments** section or Click on the **Create segment** button in the **Create Your First Segment** section.
**Note**: The **Create segment** button in the **Create Your First Segment** section will be disappeared when you click on the segment in the **Segments** section.
4. A dialog box will appear.
3. Click on the **Create new segment** button in the **Segments** section or Click on the **Create segment** button in the **Create Your First Segment** section.
**Note**: The **Create segment** button in the **Create Your First Segment** section will be disappeared when you click on the segment in the **Segments** section.
4. A dialog box will appear.
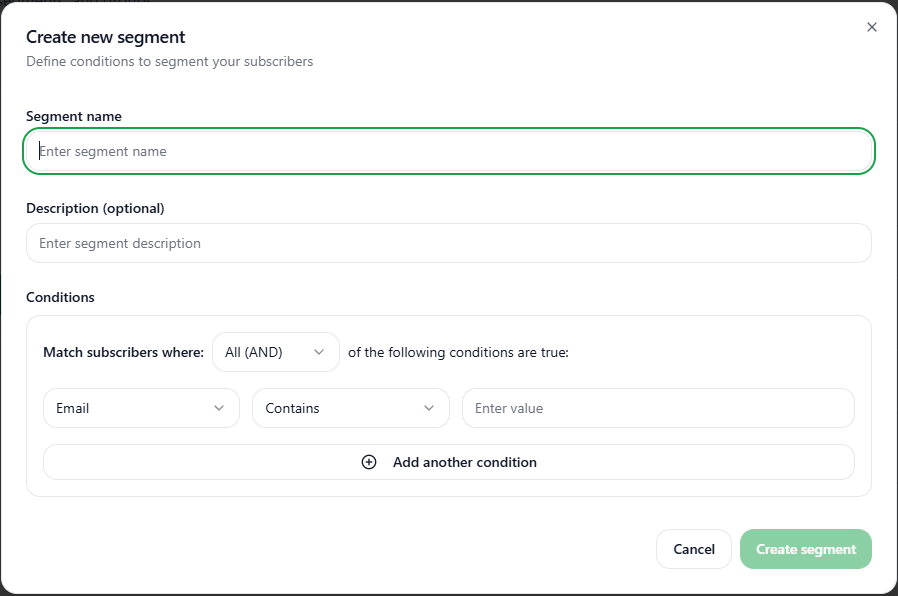
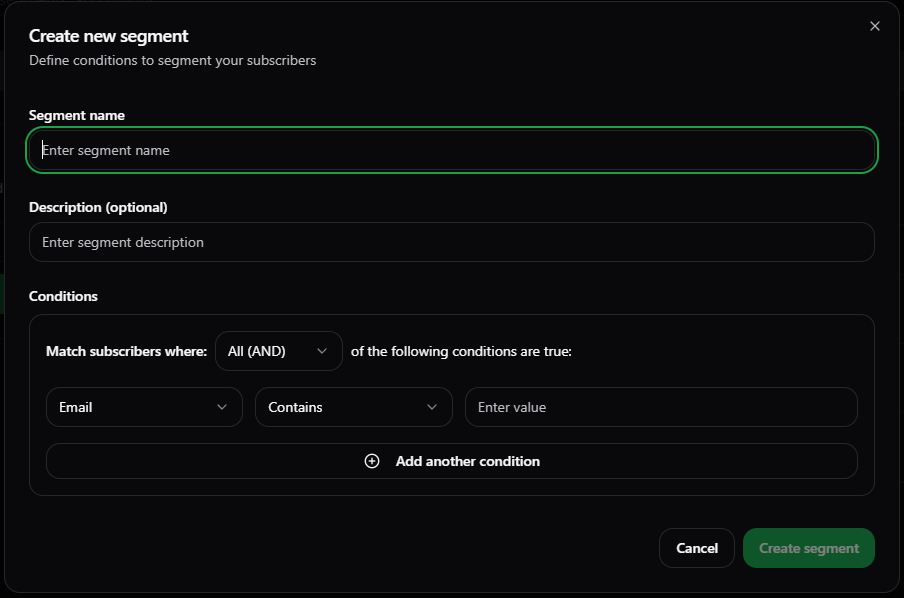 5. Enter the **Segment name**, **Description**, **Conditions** to segment the subscribers.
6. Segment Conditions can be based upon **system default fields** such as **Email**, **First Name**, **Last Name**, **Status**, **Location**, **Timezone**, **Source**, **Created At**, **Updated At**, **Last Login**, **Opt-in Date**, **Email Status**.
7. Or, you can segment subscribers according to your own **custom defined fields**. For that, you have to first create those custom fields before they are shown in the **Conditions** section of the **Create new segment** dialogbox below the **system default fields**.
8. You can also add **Logical Conditions** on the conditions using **All (AND)** or **Any (OR)**.
9. You can add multiple conditions as you want to segment the subscribers.
10. To add multiple conditions, simply click on the **Add another condition** button.
11. Specify the new condition.
12. After specifying all the conditions, click on the **Create segment** button.
13. You have successfully created a new segment for the subscribers.
14. Subscribers will automatically get filtered according to this new segment that you have just created.
15. The created segment will be shown in the **Segments** section.
5. Enter the **Segment name**, **Description**, **Conditions** to segment the subscribers.
6. Segment Conditions can be based upon **system default fields** such as **Email**, **First Name**, **Last Name**, **Status**, **Location**, **Timezone**, **Source**, **Created At**, **Updated At**, **Last Login**, **Opt-in Date**, **Email Status**.
7. Or, you can segment subscribers according to your own **custom defined fields**. For that, you have to first create those custom fields before they are shown in the **Conditions** section of the **Create new segment** dialogbox below the **system default fields**.
8. You can also add **Logical Conditions** on the conditions using **All (AND)** or **Any (OR)**.
9. You can add multiple conditions as you want to segment the subscribers.
10. To add multiple conditions, simply click on the **Add another condition** button.
11. Specify the new condition.
12. After specifying all the conditions, click on the **Create segment** button.
13. You have successfully created a new segment for the subscribers.
14. Subscribers will automatically get filtered according to this new segment that you have just created.
15. The created segment will be shown in the **Segments** section.
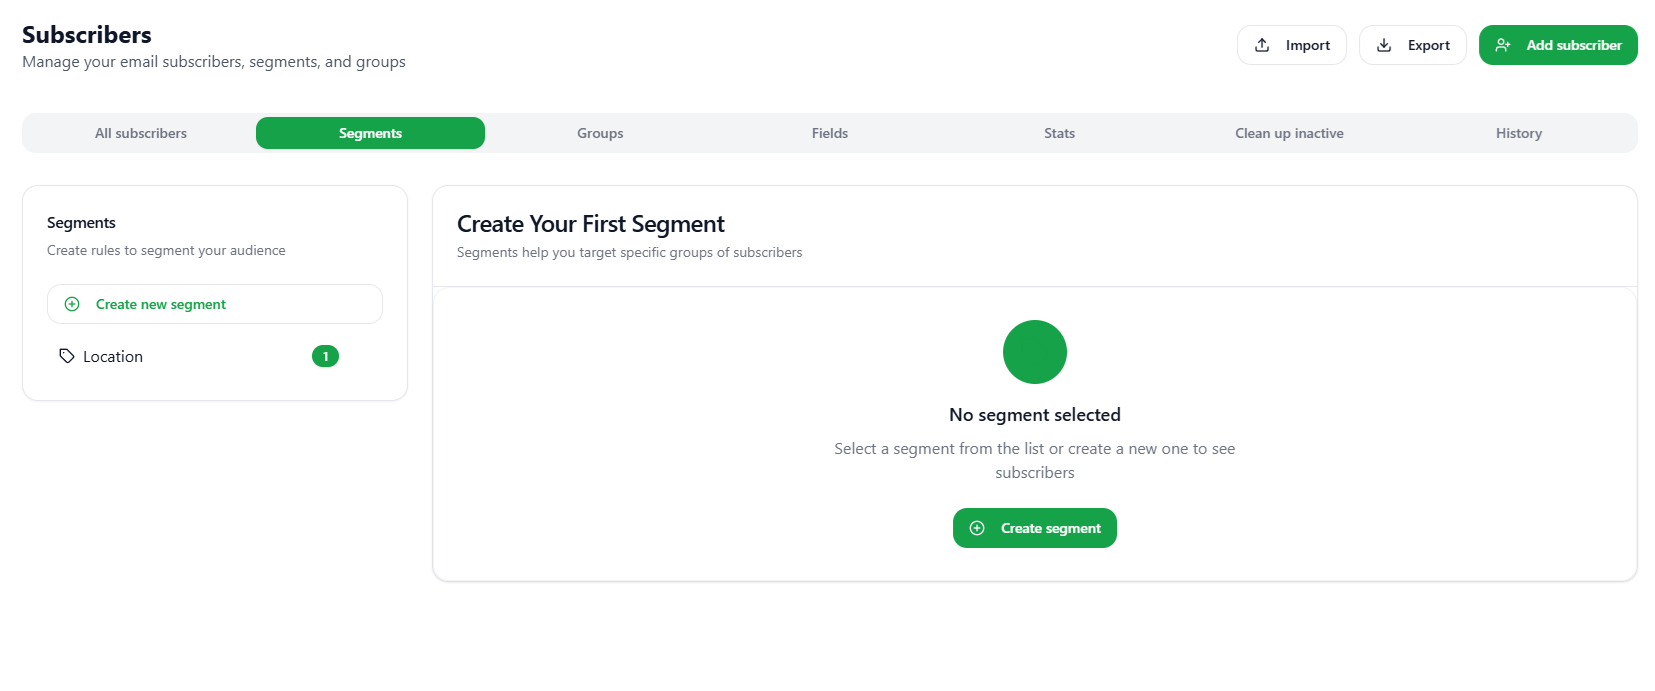
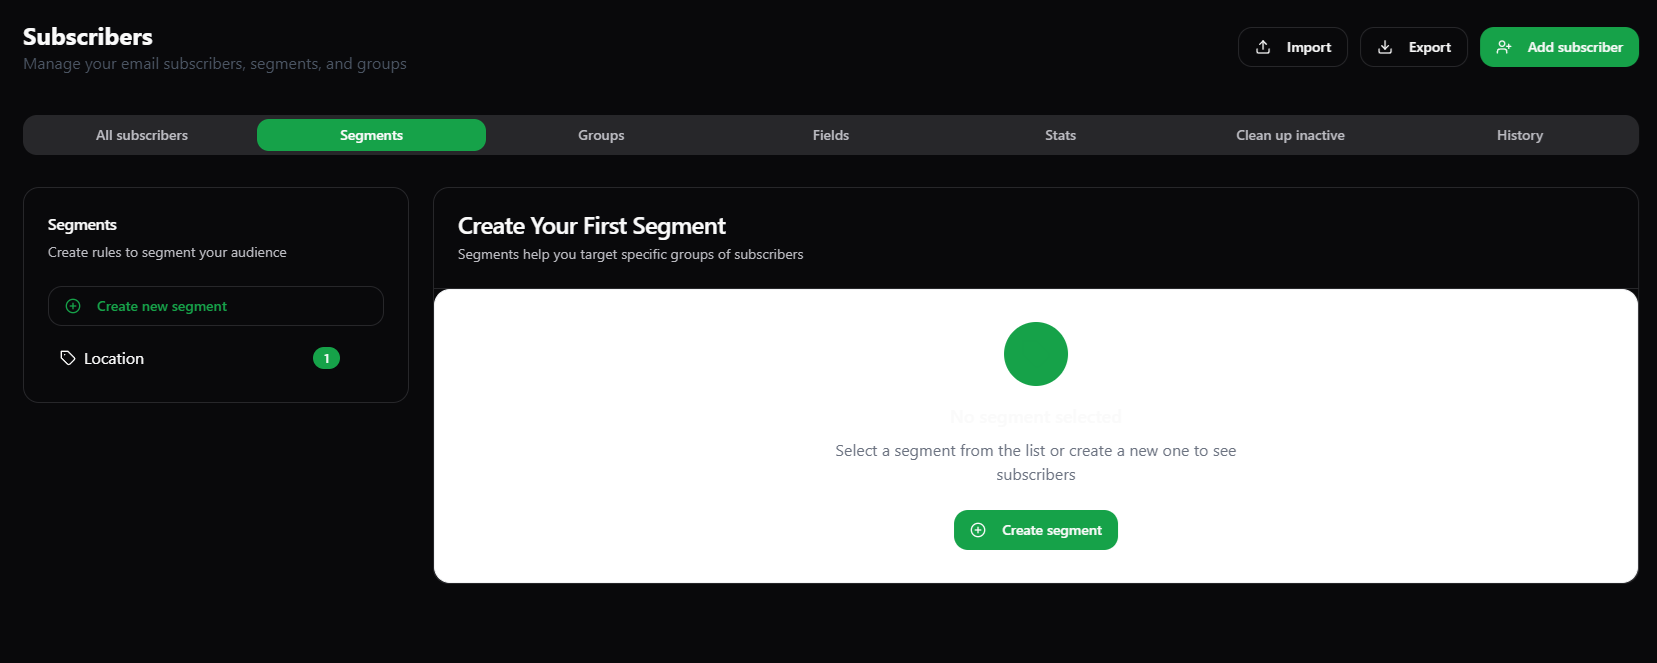 16. The number of subscribers which gets filtered according to this new segment will be reflected in front of this newly created segment.
17. Click on the segment to know more about the number of subscribers it have.
16. The number of subscribers which gets filtered according to this new segment will be reflected in front of this newly created segment.
17. Click on the segment to know more about the number of subscribers it have.
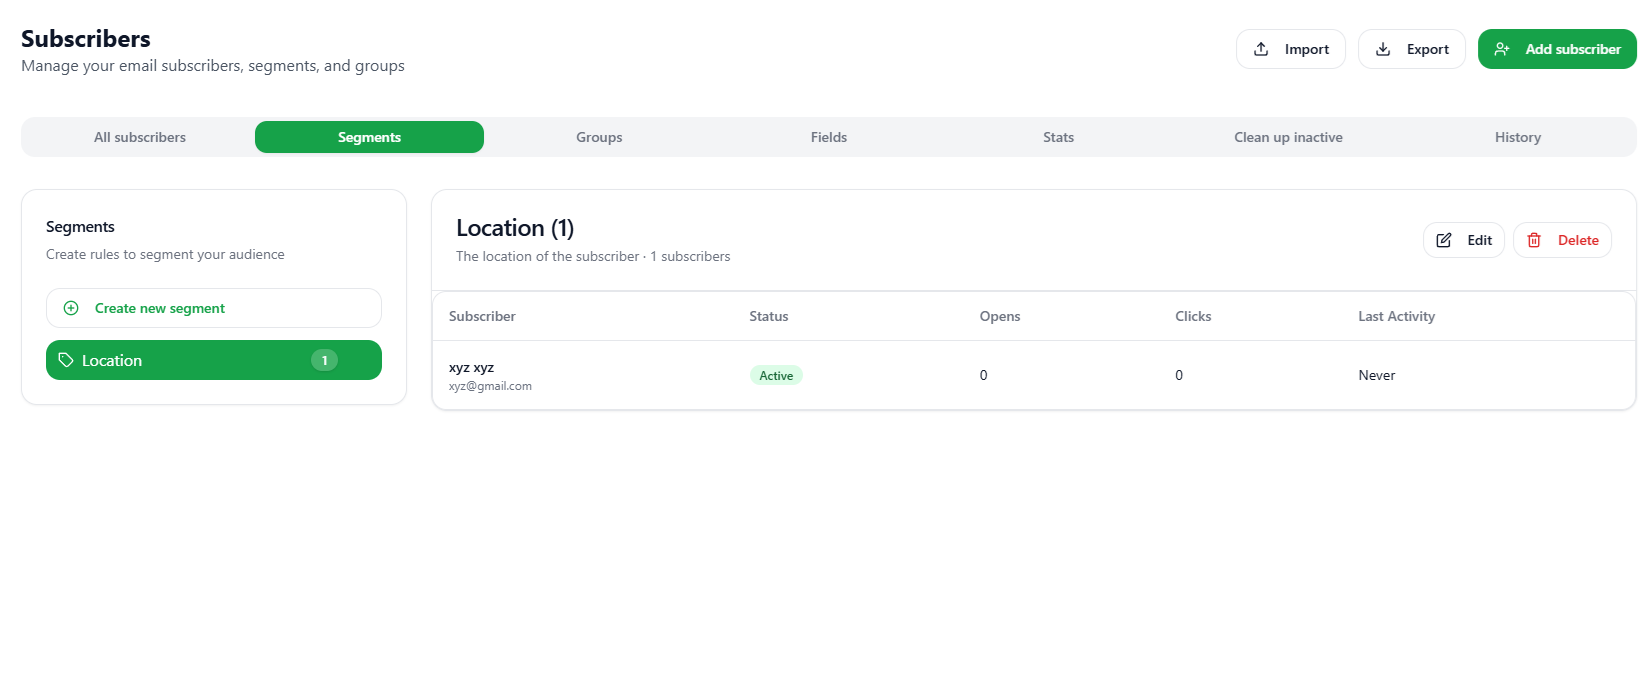
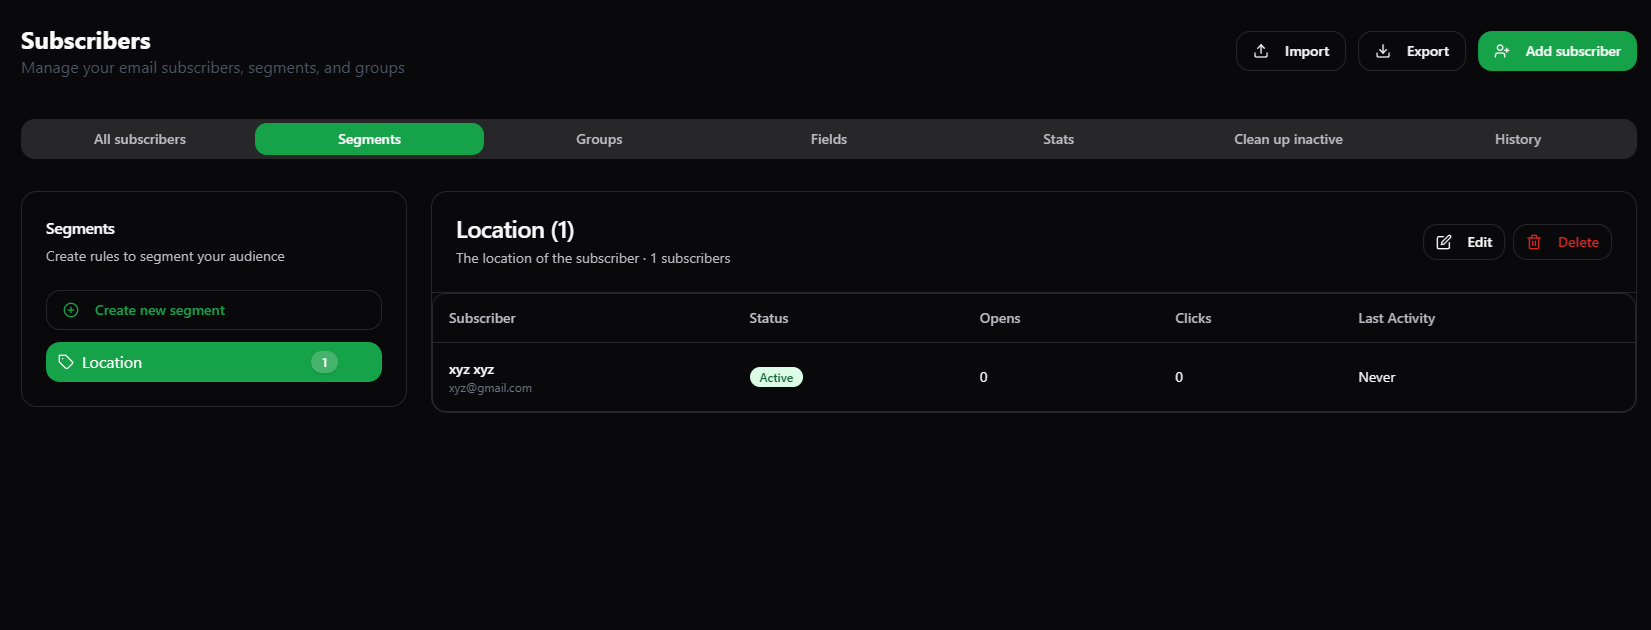 18. The old subscribers are successfully and automatically filtered or segmented according to your newly created segment.
**Note**: The new subscribers in the future will automatically gets segmented or filtered according to the segments created.
## Edit a Segment
To edit a segment:-
1. Navigate to the [Subscribers](https://mailgreet.com/dashboard/subscribers) page.
2. Click on the **Segments** tab.
3. In the **Segments** section, click on the segment you want to edit.
18. The old subscribers are successfully and automatically filtered or segmented according to your newly created segment.
**Note**: The new subscribers in the future will automatically gets segmented or filtered according to the segments created.
## Edit a Segment
To edit a segment:-
1. Navigate to the [Subscribers](https://mailgreet.com/dashboard/subscribers) page.
2. Click on the **Segments** tab.
3. In the **Segments** section, click on the segment you want to edit.
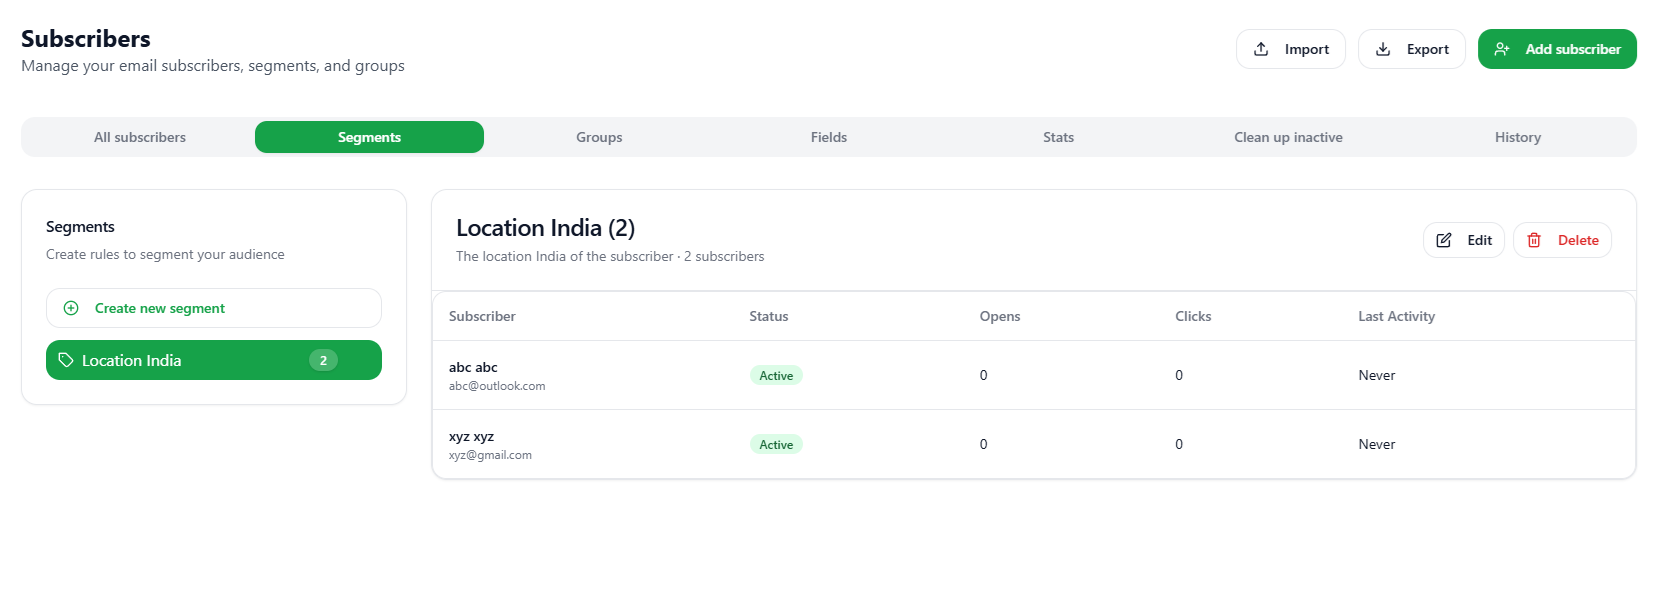
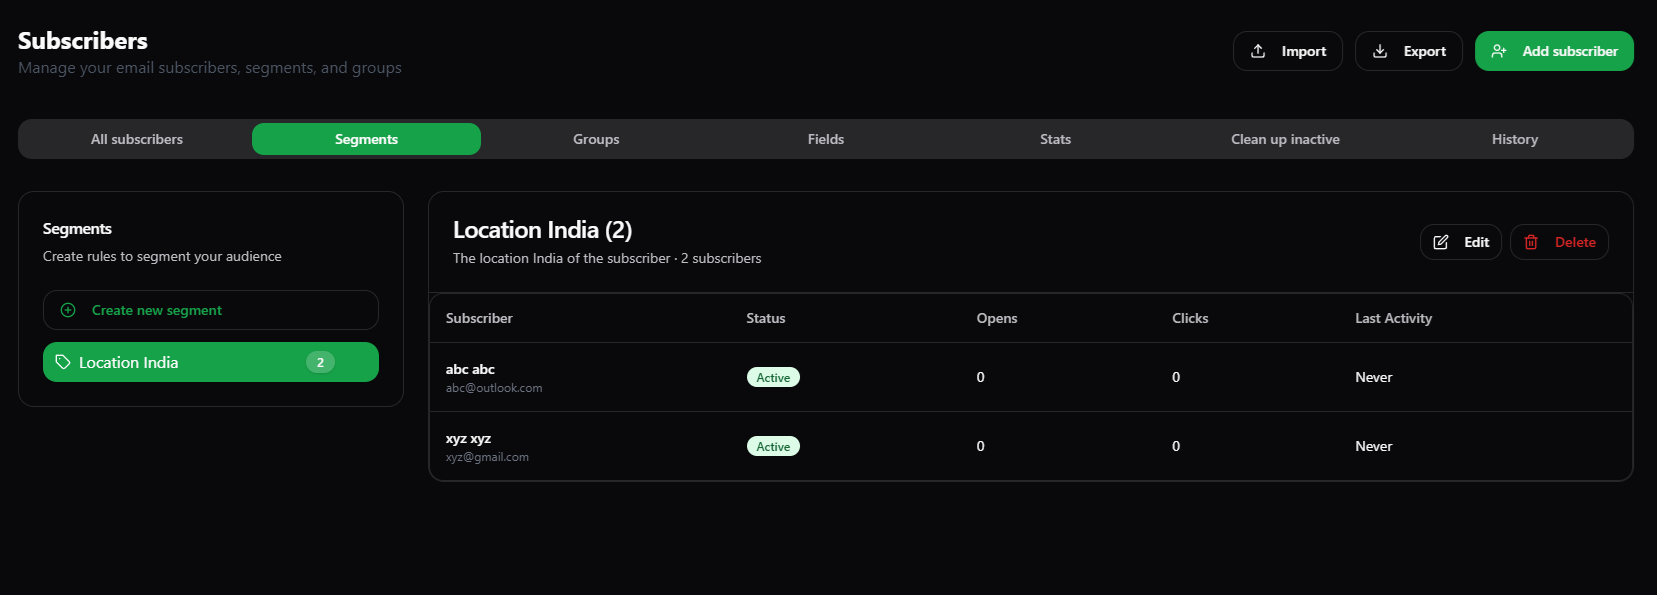
 4. That particular segment along with its filtered subscribers info will be shown on the right side of the **Segments** section.
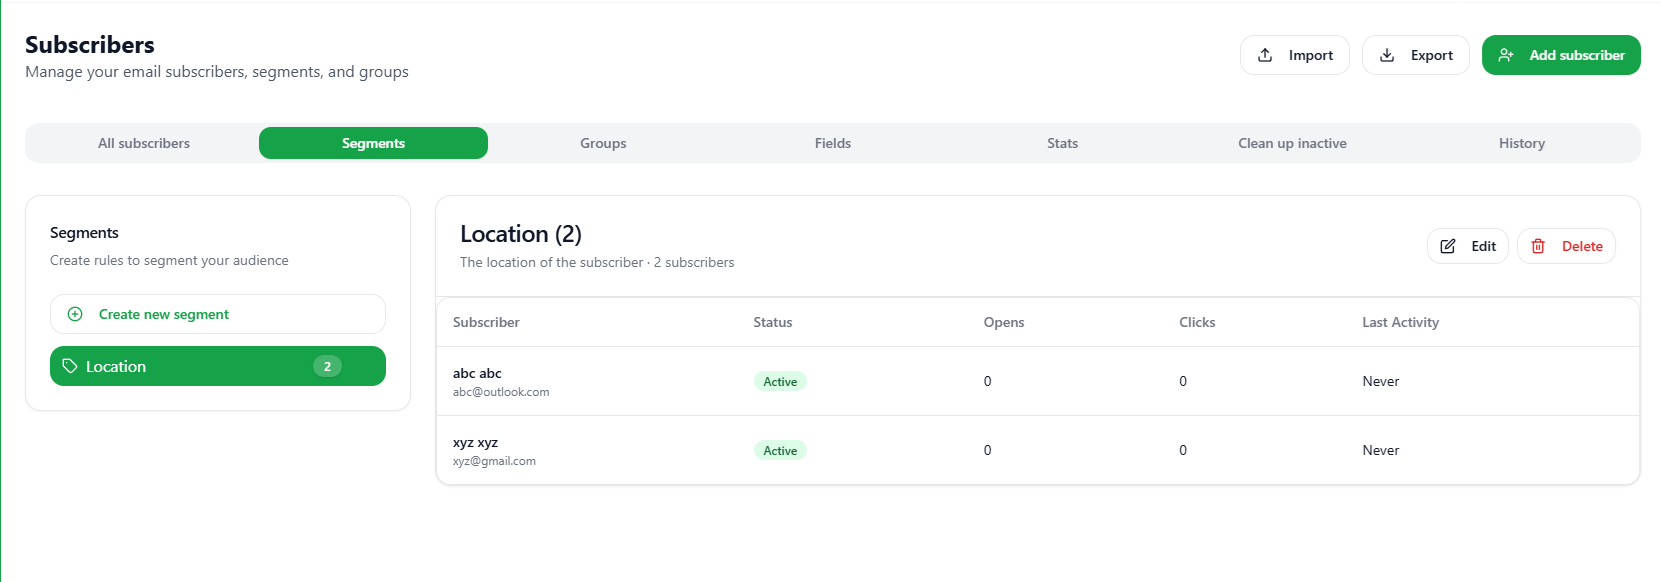
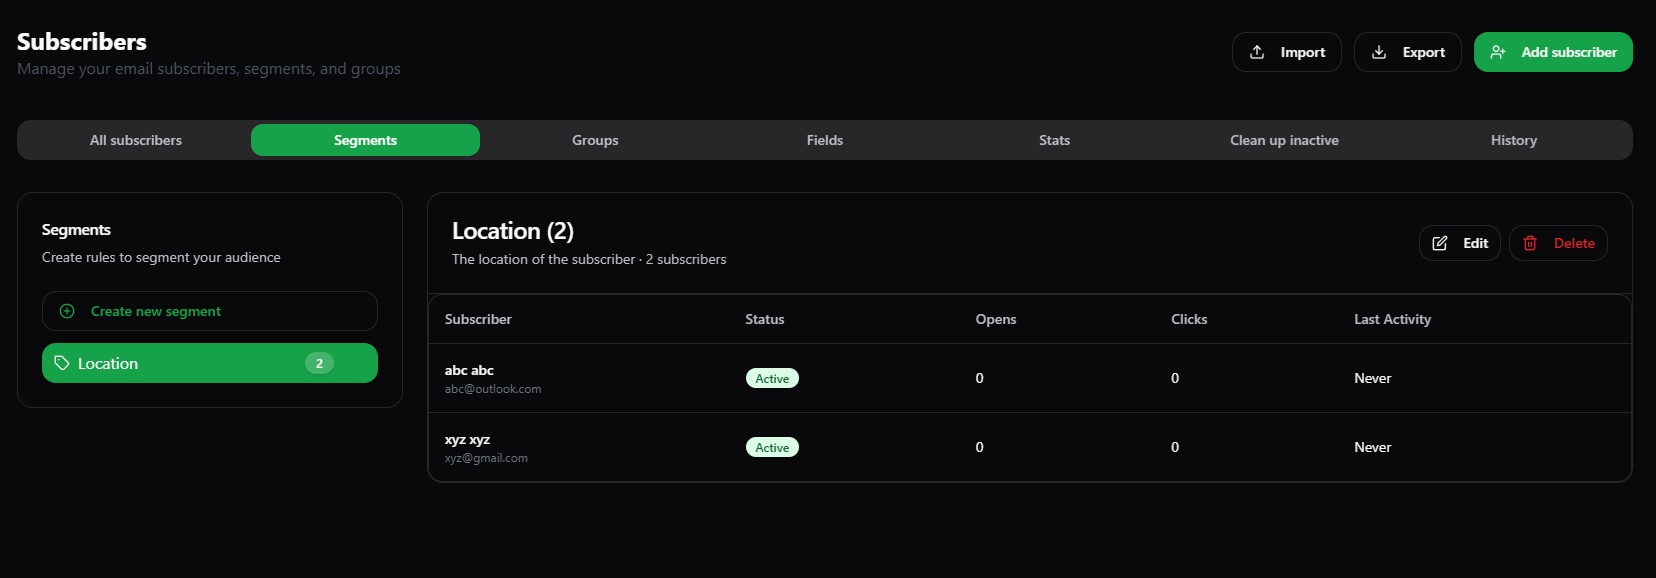 5. Click on the **Edit** button.
6. A **Edit segment** dialog box will appear.
5. Click on the **Edit** button.
6. A **Edit segment** dialog box will appear.
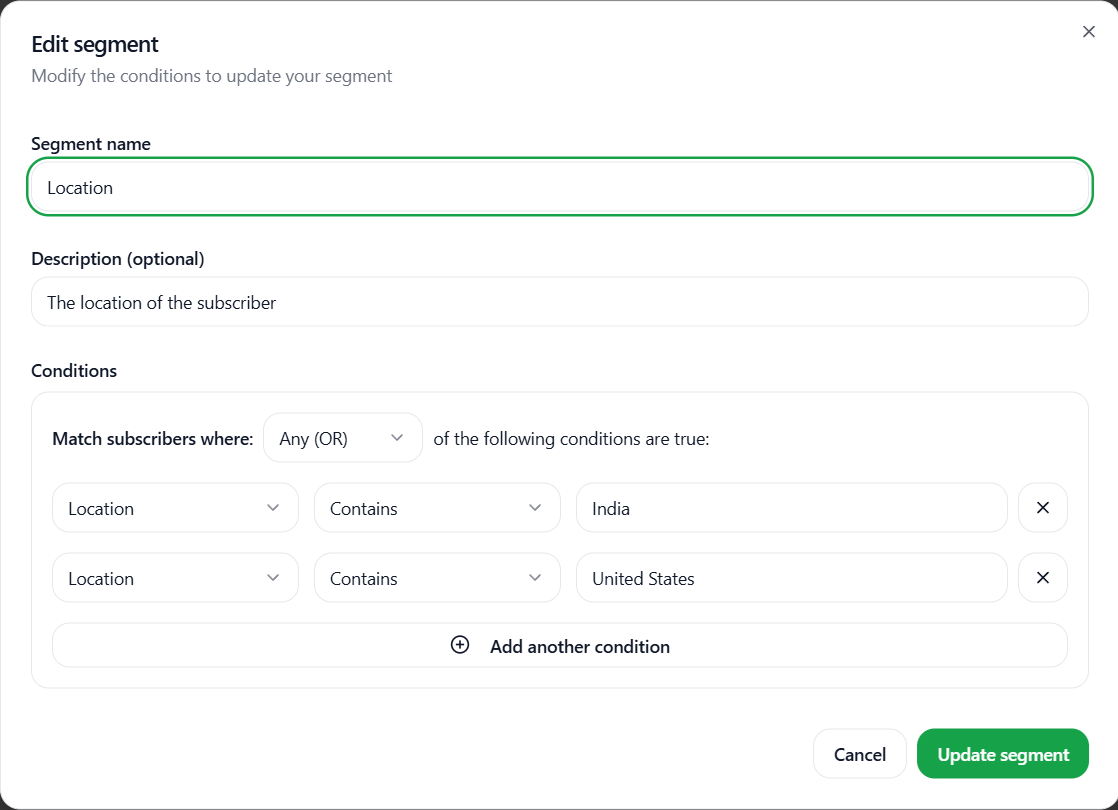
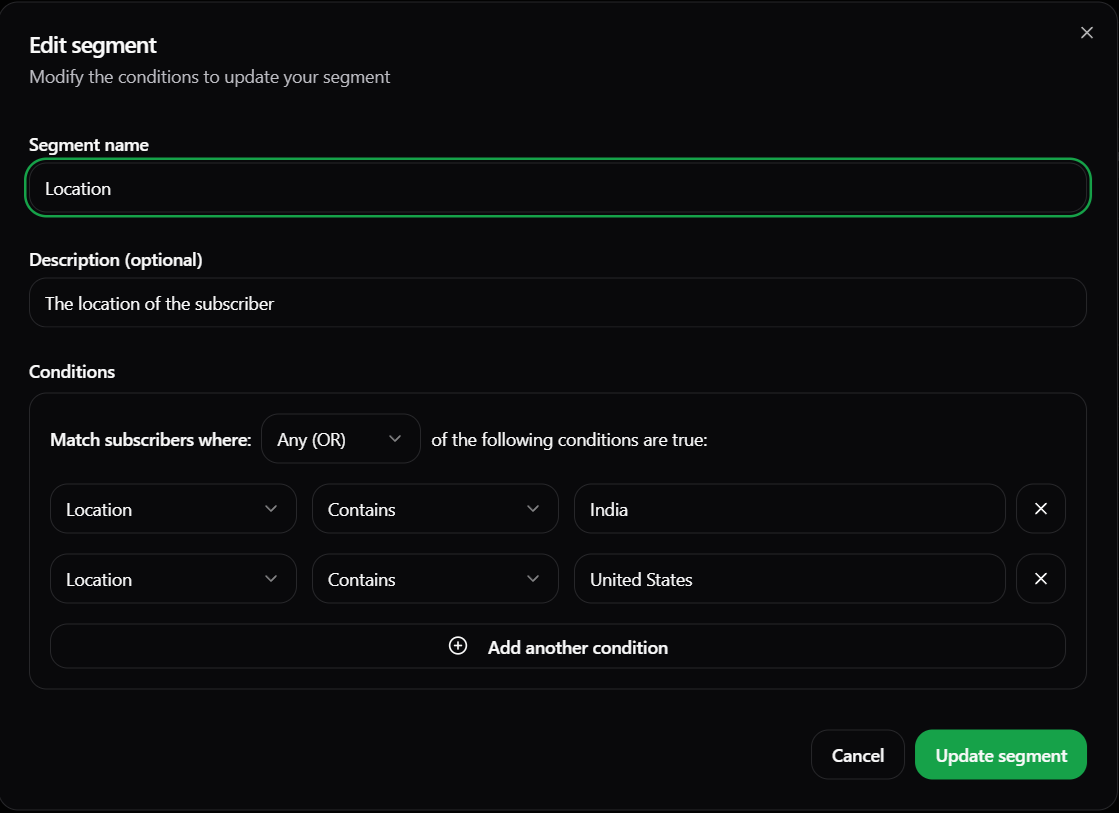 7. Edit the **Segment name**, **Description**, and the **Conditions** of the segment.
8. Click on the **Update segment** button after doing all the changes.
9. Now, you have successfully edited the segment.
7. Edit the **Segment name**, **Description**, and the **Conditions** of the segment.
8. Click on the **Update segment** button after doing all the changes.
9. Now, you have successfully edited the segment.
 ## Delete a Segment
To delete a segment:-
1. Navigate to the [Subscribers](https://mailgreet.com/dashboard/subscribers) page.
2. Click on the **Segments** tab.
3. There are two ways to delete a segment.
4. First, you can hover over the segment in the **Segments** section which you want to delete. You will see a dustbin icon.
## Delete a Segment
To delete a segment:-
1. Navigate to the [Subscribers](https://mailgreet.com/dashboard/subscribers) page.
2. Click on the **Segments** tab.
3. There are two ways to delete a segment.
4. First, you can hover over the segment in the **Segments** section which you want to delete. You will see a dustbin icon.
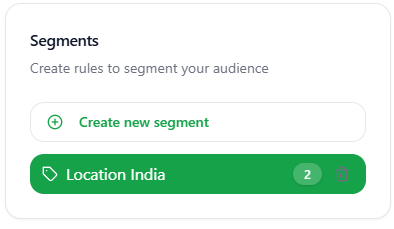
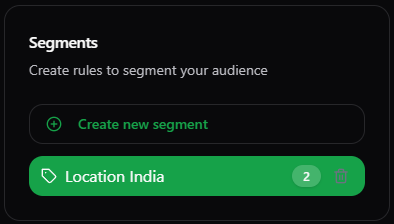 5. Click on this dustbin icon to delete the segment.
**Note**: No delete segment confirmation dialogbox will be there.
6. Second, you can click on the segment which you want to delete in the **Segments** section and when that segments info opens up to the right side of webpage. Then click on the **Delete** button.
5. Click on this dustbin icon to delete the segment.
**Note**: No delete segment confirmation dialogbox will be there.
6. Second, you can click on the segment which you want to delete in the **Segments** section and when that segments info opens up to the right side of webpage. Then click on the **Delete** button.
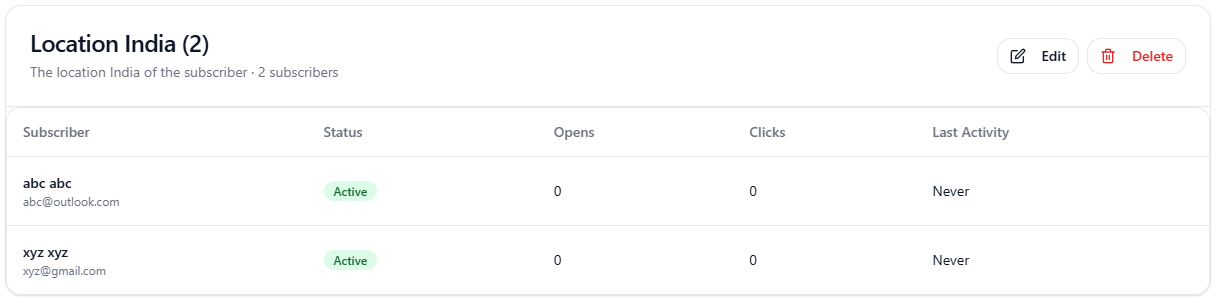
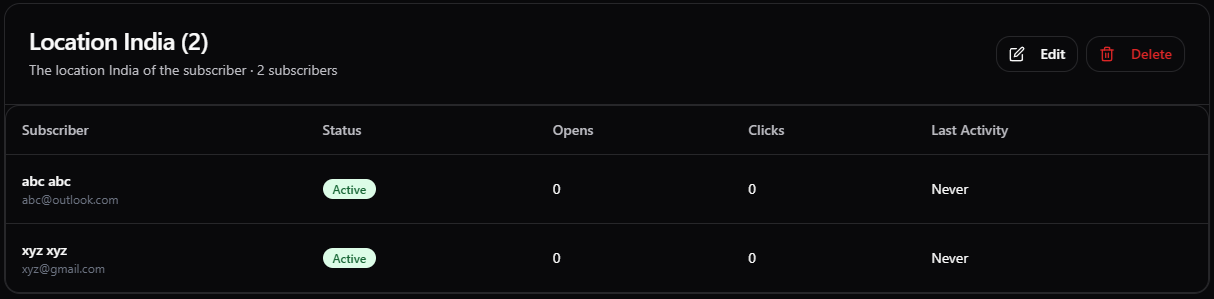 7. Now, your segment is successfully deleted using above two ways.